by Sam Williams
How to Integrate DynamoDB into your API using AWS Lambda

In the first part of this tutorial, we created an API which passed requests through to a Lambda which returned the top tv show or movie for that genre. Now we’re going to use DynamoDB to allow users to vote for their favourite genre.
If you’ve not read the first part of this series, then check it out here!
DynamoDB
DynamoDB is a non-relational database created by Amazon that we can use to store the users’ votes. It’s also great, because we can access it easily using the aws-sdk which Lambdas have preinstalled.
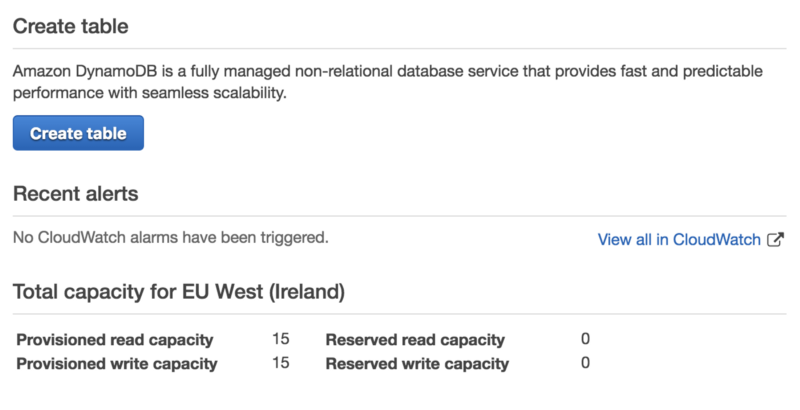
The first thing we need to do is to create a table to store the movie votes. Navigate to DynamoDB in AWS and click “Create table”.
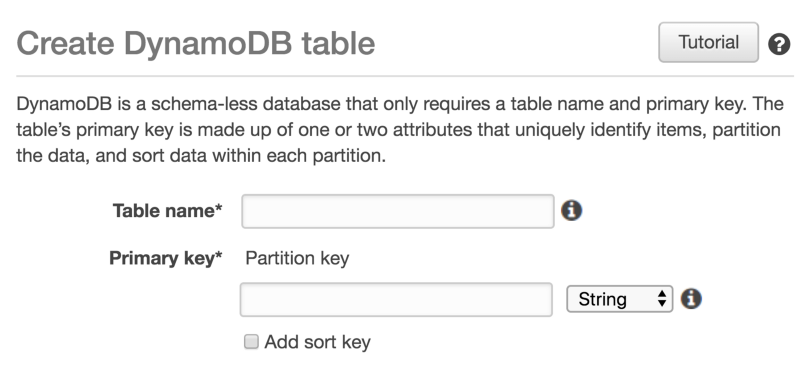
On the next page, we will name our table and provide a primary key. The primary key needs to be unique so we don’t have two records with the same key. We can call the table “movie-api” and set the primary key to “movie-genre”, as each movie should only appear once in each genre.
We’ve now set up all that we need to set up in DynamoDB so we can go back into our code.
Adding a Dynamo handler
Getting and putting data into a Dynamo table is done using the documentClient on aws-sdk, but the structure of the requests is very specific. To make our lives easier, we can make a Dynamo handler to do all of the formatting.
Start by creating a new file called “dynamo.js” in the “movieAPI” Lambda. In this file we start by requiring aws-sdk and creating our documentClient.
const AWS = require('aws-sdk');let documentClient = new AWS.DynamoDB.DocumentClient({ 'region': 'eu-west-1'});We now want to create and export a class that has three methods on it: a get, a write, and an update.
module.exports = class DB { get(key, value, table) {} write(ID, data, table) {} async increment(ID, table) {}}We’ll start by creating our get method. The first thing we need to do is to check that we have a valid key, value, and table.
if (!table) throw 'table needed';if (typeof key !== 'string') throw `key was not string and was ${JSON.stringify(key)} on table ${table}`;if (typeof value !== 'string') throw `value was not string and was ${JSON.stringify(value)} on table ${table}`;Because we want this method to be promise-based, we need to return a new Promise.
return new Promise((resolve, reject) => {})To get data from Dynamo, we need to pass a set of parameters to the document client. These params need to include TableName and Key.
let params = { TableName: table, Key: {[key]: value}};We pass these params to documentClient and then reject if there is an error or resolve if there isn’t.
documentClient.get(params, function(err, data) { if (err) { console.log(`There was an error fetching the data for ${key} ${value} on table ${table}`, err); return reject(err); } return resolve(data.Item);});A similar process is done for the write method. We check that the parameters are valid, create the parameters, and pass them to documentClient.
return new Promise((resolve, reject) => { if (typeof ID !== 'string') throw `the id must be a string and not ${ID}`; if (!data) throw "data is needed"; if (!table) throw 'table name is needed'; let params = { TableName: table, Item: { ...data, ID: ID } }; documentClient.put(params, function(err, result) { if (err) { console.log("Err in writeForCall writing messages to dynamo:", err); console.log(params); return reject(err); } console.log('wrote data to table ', table) return resolve({ ...result.Attributes, ...params.Item }); });});The increment method is a lot easier. To increment, we try getting the data for that key, increase the count by one, and then write it back to the database. If we can’t get the data, or if there is no count on the data, then we assume that we need to set the count to 0.
async increment(ID, table) { if (!table) throw 'table needed'; if (!ID) throw 'ID needed'; let data; try { data = await this.get('movie-genre', ID, table); if (!data.count) throw 'no count in data' } catch (err) { data = { "movie-genre": ID, count: 0 }; }; let newData = { ...data, count: data.count + 1 }; return this.write(ID, newData, table);}Modifying our Lambda
Now we have an easy way to get, write, and update our Dynamo table. We can use this to allow our users to vote. Inside “index.js”, we first need to import our new Dynamo class and create an instance of it.
const DB = require('./dynamo');const Dynamo = new DB();Now, inside of our putMovie we can add the logic to allow users to vote. The two things we need to get are movie from the body and genre from the path parameters. We then combine these to create our movie-genre ID. This then gets passed into Dynamo.increment with a table name of movie-api and our putMovie is complete.
const putMovie = async event => { let { movie } = JSON.parse(event.body); let genre = event.pathParameters.genre; let ID = `${movie}-${genre}`; return Dynamo.increment(ID, 'movie-api')}To get this to work when we receive the Put request, we need to slightly modify our base handler function.
if (event.httpMethod === 'PUT') { let response = await putMovie(event) return done(response);}Because we’ve added AWS to our Lambda, we need to run npm init and then npm install — save aws-sdk while in the Lambda folder. This can be done locally and uploaded, or done using Cloud9.
Adding the API Gateway method
With the new function, we can add a new method to our API. In API Gateway, we can select our “movieAPI” and then select “/movies/{genre}”. Click “Actions” -> “Create Method” and choose to add a “PUT” method.
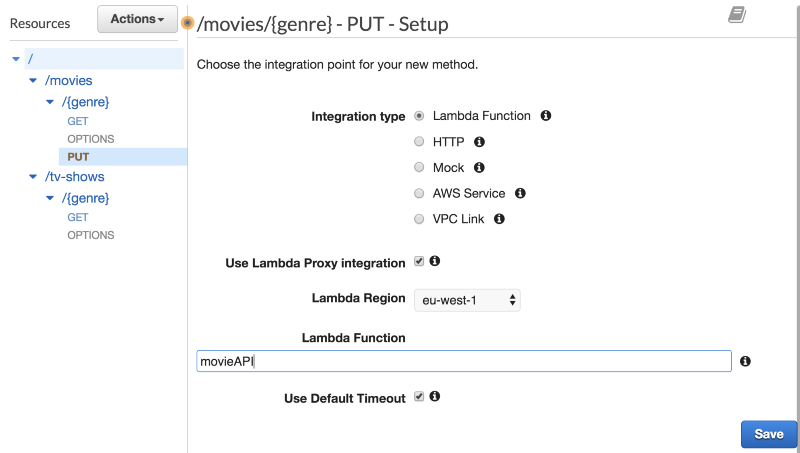
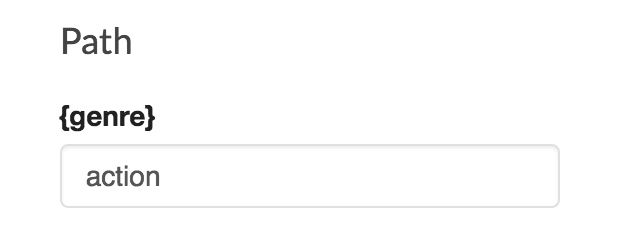
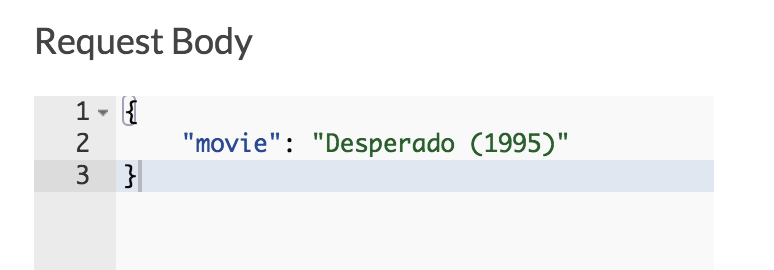
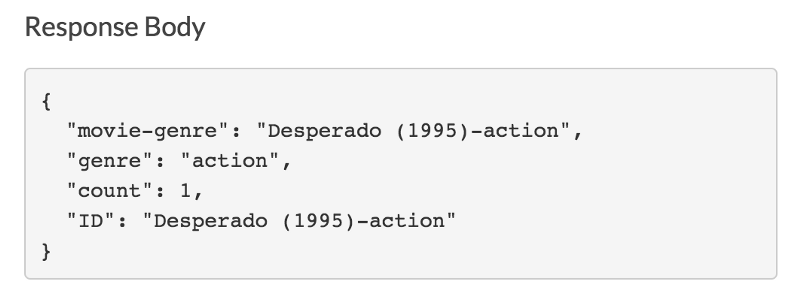
This “PUT” can be directed at our “movieAPI”, and tick “Use Lambda Proxy Integration”. Once saved we can test it out. On the method we can click “TEST” and enter a genre and a body containing a movie. When we click “TEST” we get a response containing the movie and new count. As this is the first vote, the count will be 1.
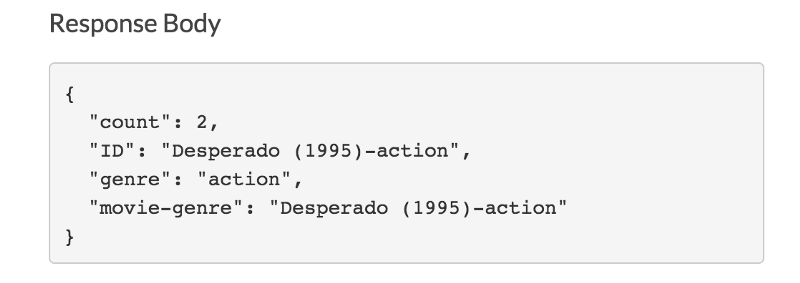
Running the test a second time will now increment the votes for this movie by one.
Modifying the GET method
Now that we have a new voting system, we can update our “GET” to use this new data. We need to get all of the movies that are in the requested genre and list them in order of votes.
We first need to make a new dynamo method. This method will scan each of the entries and pick out the ones that match our criteria.
scan(key, value, table) { return new Promise((resolve, reject) => { let params = { TableName: table, FilterExpression: `${key} = :value`, ExpressionAttributeValues: { ':value': value } }; documentClient.scan(params, function(err, data) { if (err) reject(err); resolve(data); }); });}We can now modify our getMovie function to use this new Dynamo method. We need to pass the genre, selected movie, and current count.
const getMovie = async event => { let genre = event.pathParameters.genre; let data = await Dynamo.scan('genre', genre, 'movie-api'); let result = data.Items.sort((a,b) => b.count - a.count); result = result.map(({count, ID, genre})=> { return {count, ID, genre}}); return data;}The last thing to do is to add an await before out getMovie function so that it handles the async database scan.
let response = await getMovie(event);Testing
When we hit this new “GET” endpoint we receive an ordered list of all of the movies in the database.
[ { "count": 2, "ID": "Desperado (1995)-action", "genre": "action" }, { "count": 1, "ID": "Team America (2004)-action", "genre": "action" }]Summary
We’ve now built an API that can handle “GET” and “PUT” requests, storing and retrieving data from a Dynamo database. You can also reuse a lot of the Dynamo class code for other APIs that work with Dynamo.
Want some practice?
If you’ve enjoyed this, then why not try to implement a similar setup for tv shows? If you do, then let me know how it goes!
You can also improve this API by making sure that Desperado (1995) and desperado (1995) both count towards the same movie, or only allow a certain format of movie title.
If you’ve liked this, then make sure to give it a clap and subscribe for more Amazon tutorials and guides. See you in the next article and Keep Coding!
