by Taurus Omejia

Host your Static Website on your own Domain through Github Pages
Did you know that Github will allow anyone to host their static webpages for free? The best part is that you can even use your own custom domain. Let’s do this!
Step 1: Create your website
If you already have a website, than you can move on to step 2.
If not then today is good day to start.
I suggest starting a blog. A blog is a great way to establish a more meaningful presence online. You can leverage it to build your own personal online brand.
Don’t know where to start? I got you covered. John Sommez of Simpleprogrammer.com has an excellent email course called: How To Build A Blog That Will Boost Your Career. It’s a great course that walks you through the process.
So you decided to start a blog. Now what? There are many ways you could go, such as Wordpress, Tumblr, or even Blogger.
But that would defeat the purpose of this article. We want to use Github Pages to host a static page for free. So I recommend using a static blog generator.
I personally use Jekyll for my blog. Buts there are many others out there. Here’s a list of some of the more popular ones: Static Blog Generators. Choose one, read the instructions, and get your blog set up!
Step 2: Add your site to Git Version Control
Great you made it to step 2. Now that your blog is ready, let’s put it under version control using Git. This Article assumes you have Git installed, you have a github account and can push to it.
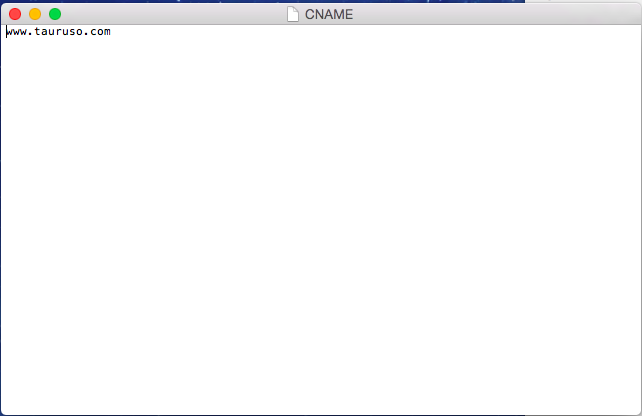
- This step is very important: create a simple .txt file and name it “CNAME”. Open the file and type your custom domain name in it. Save it.
OK! Crank up your terminal and navigate to the directory your site lives in. Its time to initialize version control by entering the command.
$ git initNow to add the entire project under git tracking. Enter:
$ git add .Let’s commit it:
$ git commit -m “first commit”Your site is now under version control. Now the fun begins.
Step 3: Push your site to Github
We are finally ready to push to GitHub and see our site automatically running live online for free!
- Launch github.com and sign in.
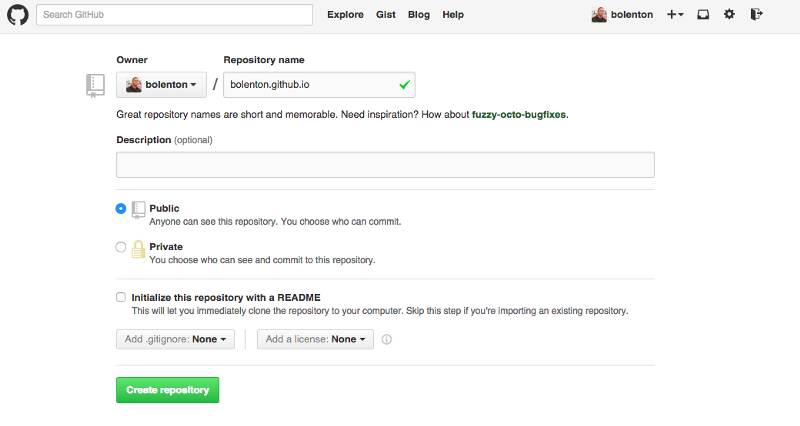
- On your home page click the big green button that says “+ New repository.”
- For your page to automatically be hosted, you must follow a specific naming convention. Name your repository “[your-username].github.io”, leave everything else as is, and press “Create Repository”.
Now follow GitHub’s instruction to push your blog to your new repository.
That’s it! Your new page should be up at http://your-username.github.io.
If you don’t see it right away, give it a few minutes, ten at the most.
That’s it! For most people this is all you need to do. However for those of you that would like to use your own custom domain continue to the final step.
Step 4: Assign your custom domain to your new GitHub pages website
This will vary depending where you registered your domain. I have GoDaddy, so these instructions are specific to that. But the steps should be similar with other domain providers. Here is how I did it:
- I signed into my GoDaddy account and selected “manage domains”. I selected the domain I wanted to use and clicked “Manage Connection”.
- On the “Domain Details” page I clicked the “DNS ZONE FILE” tab.
- Edit “A-Host” and point it to 192.30.252.153
- Now edit the www potion of “CName (Alias)” and point it to [your-username].github.io.
- Make sure to save everything. Once you save this, it could take up to an hour to update completely.
- Now “[your-custom-domain].com” should point to [your-username].github.io. But what if your user types “www.[your-custom-domain].com” instead? Let’s fix it so that the www subdomain will point to [your-username].github.io as well.
- Select your domain and press “Manage Connections”, then select the “Settings” tab.
- Under Forwarding -> Domain, click “manage”.
- Click on “Update Forwarding”.
- In “Forward to:” type www.[your-custom-domain].com
- Make sure 301 (Permanent) is selected, then save your work.
- That’s it. Allow it about 1 hour for everything to update.
Let me be the first to congratulate you. You have a website up and running, under version control, with your own domain name — all hosted free of charge!
Originally published at www.tauruso.com. To view this article in all its glory and more from Taurus Omejia, go HERE!