by Charlie Waite
How to build a responsive navbar with a toggle menu using Flexbox

During a recent project, my team had to remove all traces of Bootstrap. This meant the extremely useful responsive navbar was going to have to be created from scratch. I’m relatively new to CSS, and have always relied on Bootstrap navbars for their simplicity, so I volunteered to take on this task. Here’s what I learned and did throughout the process.
In this article, I will assume you have basic knowledge of HTML, CSS and JavaScript — you know how to link a stylesheet to your HTML or apply the styles in a <style>tag — and you know how to import a JavaScript file into your page.
I’ve had defensive elitists criticise my way of doing things, especially with the toggle menu being position: absolute — if you have better ways of doing this then please respond below and we can make this better for the thousands of people reading it!
Getting started
Firstly, I started with some basic HTML for the layout:
<div class="Navbar">
  <div class="Navbar__Link Navbar__Link-brand">
    Website title
  </div>
  <div class="Navbar__Link">
    Link
  </div>
  <div class="Navbar__Link">
    Link
  </div>
  <div class="Navbar__Link">
    Link
  </div>
  <div class="Navbar__Link">
    Link
  </div>
  <div class="Navbar__Link">
    Link
  </div>
</div>
You can use any naming convention for the classes.

Now, this isn’t giving us much yet. This is just a plain list of items. But with just one line of CSS, we see the power of Flexbox.
.Navbar {
  display: flex;
}
One line of code, and we already have our navigation items aligned horizontally across the top of the page.
Now let’s add two nav elements to our HTML so we can have some items on the left and right of the navbar:
<div class="Navbar">
  <nav class="Navbar__Items">
    <div class="Navbar__Link Navbar__Link-brand">
      Website title
    </div>
    <div class="Navbar__Link">
      Link
    </div>
    <div class="Navbar__Link">
      Link
    </div>
    <div class="Navbar__Link">
      Link
    </div>
  </nav>
  <nav class="Navbar__Items Navbar__Items--right">
    <div class="Navbar__Link">
      Link
    </div>
    <div class="Navbar__Link">
      Link
    </div>
  </nav>
</div>
And some basic styling on our Navbar class which wraps all the other elements:
.Navbar {
  background-color: #46ACC2;
  display: flex;
  padding: 16px;
  font-family: sans-serif;
  color: white;
}
Of course you can choose your own color scheme, font, and padding.
Now our navbar will look like this:

Whoops, now it looks a bit better, but we can’t have our navigation items displayed vertically. Before you read on, try having a guess as to what we’re going to do next…
Now our display:flex in the .Navbar class is no longer responsible for these items. It is now responsible for their <nav> containers. We want both to be aligned horizontally.
So we change the .Navbar__Items class too:
.Navbar__Items {
  display:flex;
}
Now lets add some padding to our links to make this just a bit prettier:
.Navbar__Link {
  padding-right: 8px;
}
Now our nav bar looks like this:

We’re getting there. But we also want the second <nav> to be aligned to the right. As you may have noticed — I added an extra class to the second <nav> tag .Navbar__Items--right.
Let’s simply add a margin-left:auto to this class:
.Navbar__Items--right {
  margin-left:auto;
}

As you can see, this is now much better. We already have a fully responsive navbar. But…
What if each navigation item had longer text? What if there were more items?

As you can see, this is not what we want. We either want to make all the navigation items single line for consistency, or we’d like them tucked away in a menu which the user can toggle.
We’ll go with the latter, as it’s much cleaner and we won’t have to worry about the user struggling to read the text on each navigation item.
flex-direction
With an item whose display is flex, there is also a rule for the direction we want the items to flex. This defaults to row, which aligns all the items neatly across the x-axis.
In our case, we’d like a small vertical menu at the top of our page. Let’s try changing the flex-direction on both .Navbar and .Navbar__Items to column — this aligns all menu items across the y-axis — when the screen width is 768px or lower.
And let’s remove that margin-left from the second <nav>:
@media only screen and (max-width: 768px) {
  .Navbar__Items,
  .Navbar {
    flex-direction: column;
  }
  .Navbar__Items--right {
    margin-left: 0;
  }
}
But now, the navigation items are always visible, which takes up a significant amount of screen real estate.
In our media query, lets add a second rule for .Navbar__Items so they are not visible:
@media only screen and (max-width: 768px) {
  .Navbar__Items,
  .Navbar {
    flex-direction: column;
  }
  .Navbar__Items {
    display:none;
  }
  .Navbar__Items--right {
    margin-left:0;
  }
}
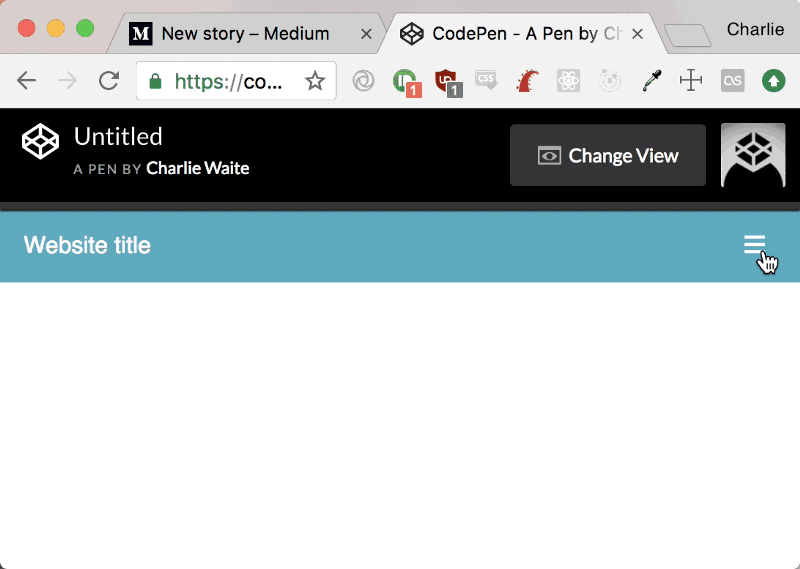
The toggle button
For the toggle button, I am going to use an icon provided by Font Awesome. If you decide to follow suit, just follow the instructions on their site to get the icons integrated into your project. You can use any icon set you want, or you can use plain text if you desire.
Now let’s add this icon to our HTML:
<div class="Navbar">
   <div class="Navbar__Link Navbar__Link-brand">
      Website title
    </div>
    <div class="Navbar__Link Navbar__Link-toggle">
      <i class="fas fa-bars"></i>
    </div>
  <nav class="Navbar__Items">
    <div class="Navbar__Link">
      Longer Link
    </div>
    <div class="Navbar__Link">
      Longer Link
    </div>
    <div class="Navbar__Link">
      Link
    </div>
  </nav>
  <nav class="Navbar__Items Navbar__Items--right">
    <div class="Navbar__Link">
      Link
    </div>
    <div class="Navbar__Link">
      Link
    </div>
  </nav>
</div>
I have bolded the new addition. You will notice that this toggle does not go within any of the nav tags but sits outside with the website title. Makes sense.

Of course, it’s not where we want it to be. And even worse, it’s visible on desktop resolutions.

Let’s fix this. Let’s do what we did with the .Navbar__Items on mobile to the menu icon on desktop:
.Navbar__Link-toggle {
  display: none;
}
Now let’s add some rules to the same class within our media query:
.Navbar__Link-toggle {
  align-self: flex-end;
  display: initial;
  position: absolute;
  cursor: pointer;
}
Now, we are pretty much done here. We have our desired look. But we need to add toggle functionality to the menu icon.
In your JavaScript, add:
function classToggle() {
  const navs = document.querySelectorAll('.Navbar__Items')

  navs.forEach(nav => nav.classList.toggle('Navbar__ToggleShow'));
}

document.querySelector('.Navbar__Link-toggle')
  .addEventListener('click', classToggle);
Now lastly, add the Navbar__ToggleShow with the rule display:flexto your media query.
Now we have a fully responsive navbar with toggle menu. With Flexbox it really is that simple!
The final code
HTML:
<div class="Navbar">
   <div class="Navbar__Link Navbar__Link-brand">
      Website title
    </div>
    <div class="Navbar__Link Navbar__Link-toggle">
      <i class="fas fa-bars"></i>
    </div>
  <nav class="Navbar__Items">
    <div class="Navbar__Link">
      Longer Link
    </div>
    <div class="Navbar__Link">
      Longer Link
    </div>
    <div class="Navbar__Link">
      Link
    </div>
  </nav>
  <nav class="Navbar__Items Navbar__Items--right">
    <div class="Navbar__Link">
      Link
    </div>
    <div class="Navbar__Link">
      Link
    </div>
  </nav>
</div>
CSS:
.Navbar {
  background-color: #46ACC2;
  display: flex;
  padding: 16px;
  font-family: sans-serif;
  color: white;
}

.Navbar__Link {
  padding-right: 8px;
}

.Navbar__Items {
  display: flex;
}

.Navbar__Items--right {
  margin-left:auto;
}

.Navbar__Link-toggle {
  display: none;
}

@media only screen and (max-width: 768px) {
  .Navbar__Items,
  .Navbar {
    flex-direction: column;
  }

.Navbar__Items {
    display:none;
  }

.Navbar__Items--right {
    margin-left:0;
  }

.Navbar__ToggleShow {
    display: flex;
  }

.Navbar__Link-toggle {
    align-self: flex-end;
    display: initial;
    position: absolute;
    cursor: pointer;
   }
}
JS:
function classToggle() {
  const navs = document.querySelectorAll('.Navbar__Items')

  navs.forEach(nav => nav.classList.toggle('Navbar__ToggleShow'));
}

document.querySelector('.Navbar__Link-toggle')
  .addEventListener('click', classToggle);
Read more about Flexbox at:
Basic concepts of flexbox
The Flexible Box Module, usually referred to as flexbox, was designed as a one-dimensional layout model, and as a…
And where I learned the basics of Flexbox myself: