

For all your developer note-taking needs
Taking notes is key to remembering most things in our lives. How many times have you worked on a project, then three months later needed to get back in the code, and it took you hours to come back up to speed? If you had taken a few minutes to jot down some documentation, you could have cut to the chase.
Personally, I keep my notes all over the place — in notebooks, mostly, but also right here on this blog. Many times when I finish a large, difficult feature, I like to blog key elements of it so I can come back later and figure out how I did what I did. Plus, it might help someone else along the way. However, there are tons of things I learn every day that just slip away. I keep learning and re-learning them and that’s inefficient.
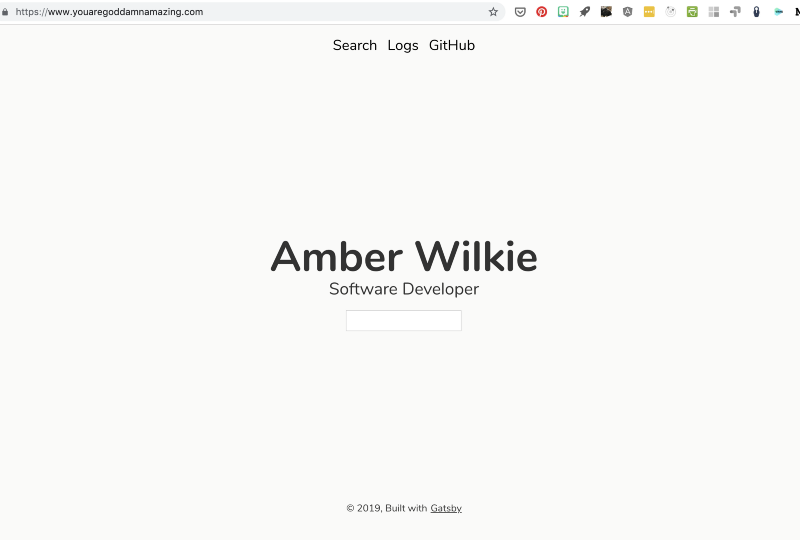
I recently wanted a way to quickly jot down things I learn throughout the day, or lessons I want to keep in mind. But that’s not enough — I also need to be able to search these logs so I can find exactly what I’m looking for right away. That’s exactly what I’m going to show you how to build today. This project, front-to-back, took me maybe an hour and a half.
Gatsby
This project is built using Gatsby, the wildly popular front-end framework for creating static websites. I’m going to skip all the sales pitch stuff and just jump into the code, but if you want to back up a step, I wrote a long blog post about why I love Gatsby so much. In short: it’s awesome if you know React, and probably worth learning anyway if you need a static site.
Step 1: Create a new Gatsby site using the beautiful “Julia” template
Assuming you’ve got the Gatsby CLI working, run this to pull the pared-down but beautifully laid-out Julia template:
gatsby new <site-name> https://github.com/niklasmtj/gatsby-starter-juliaPop open the gatsby-config.js and swap out your details for “Julia Doe” under siteMeta. You’re halfway there.
Step 2: Add logging
Now we want to add some functionality to the site. In the content directory, add a markdown file or twenty. Nest them however you like. You’ll follow this format:
---
title: "Whatever title you want"
date: "2019-05-010"
draft: false
path: "/logs/some-slug-for-the-file"
tags: testing, documentation
---
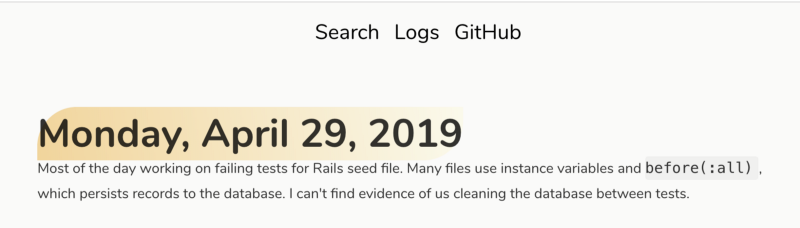
# Monday, May 6, 2019
* Added documentation ....Note that path needs to be unique for each file. I named mine by date (with each week getting one file) but obviously you can do anything you like.
Step 2A: follow the Gatsby documentation for creating pages from Markdown
I could reiterate, but the Gatsby documentation itself is incredibly straightforward and easy to follow. You’ll install the required plugins, configure them in gatsby-config.js, create a template for how your posts should look, and set up gatsby-node.js to build pages from your markdown files.
To steal a tip from somewhere else on the internet: if you head to a localhost page you know doesn’t take you anywhere (I prefer localhost:8000/garbage), you can see all the available links for your page. It’s a quick way to check Gatsby has created all your markdown pages appropriately.
Keep it clean
I learned working on this project that you can assign multiple folders to get scanned by Gatsby’s file system plugin:
{
  resolve: `gatsby-source-filesystem`,
  options: {
    name: `images`,
    path: `${__dirname}/src/images`,
  },
},
{
  resolve: `gatsby-source-filesystem`,
  options: {
    name: `markdown-pages`,
    path: `${__dirname}/src/content`,
  },
},
So no problem if you are already using gatsby-source-filesystem to read, for instance, your image files. I also tested nesting, and Gatsby will grab anything in your content folder recursively — so you can go ahead and organize any way you like.
Good times! If you took that diversion to the Gatsby docs, you should now have a fully-functioning log system.
Step 3: Add search
Now the fun part. We’ll add the ability to search our logs using the Gatsby lunr elastic search plugin.
Configure
First, yarn add @gatsby-contrib/gatsby-plugin-elasticlunr-search, then we’ll add to gatsby-config.js:
{
  resolve: `@gatsby-contrib/gatsby-plugin-elasticlunr-search`,
  options: {
    // Fields to index
    fields: [`title`, `tags`, `html`],
    resolvers: {
      MarkdownRemark: {
        title: node => node.frontmatter.title,
        tags: node => node.frontmatter.tags,
        path: node => node.frontmatter.path,
        html: node => node.internal.content,
      },
    },
  },
},
Note that I’ve added a field not included on the lunr docs: html. We’ll need this for full text search of the logs, rather than just searching by tags.
Add a search bar
Obviously yours can go anywhere. I put mine right on the index under my name.
The search bar component:
import React from "react"
import { graphql, StaticQuery } from "gatsby"
import Search from "./search"

export default () => {
  return (
    <StaticQuery
      query={graphql`
          query SearchIndexQuery {
            siteSearchIndex {
              index
            }
          }
        `}
      render={data => (
        <Search searchIndex={data.siteSearchIndex.index}/>
      )}
    />
  )
}
Nothing much going on here — we’re just grabbing the search index from the elastic search data.
The search component, essentially copied directly from the lunr docs:
import React, { Component } from "react"
import { Index } from "elasticlunr"
import { Link } from "gatsby"
import styled from "@emotion/styled"
export default class Search extends Component {
state = {
query: ``,
results: []
}
render() {
return (
<div>
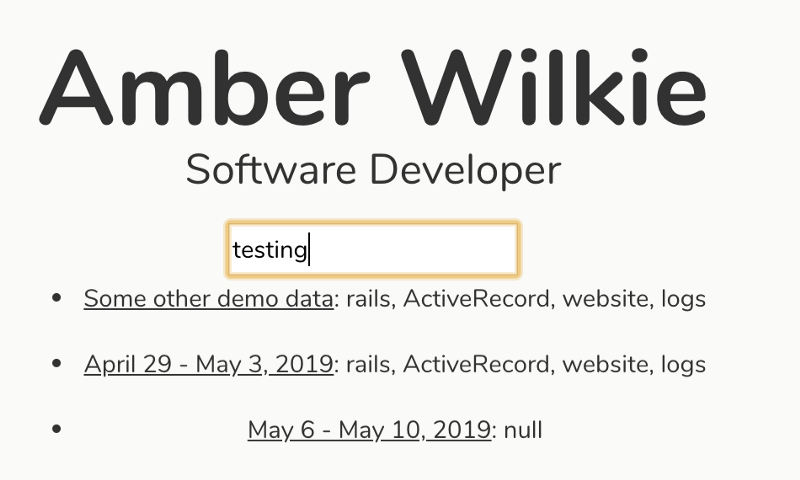
<input type="text" value={this.state.query} onChange={this.search} />
<ul>
{this.state.results.map(page => (
<li key={page.id}>
<Link to={"/" + page.path}>{page.title}</Link>
{': ' + page.tags}
</li>
))}
</ul>
</div>
)
}
getOrCreateIndex = () => {
return this.index
? this.index
: // Create an elastic lunr index and hydrate with graphql query results
Index.load(this.props.searchIndex)
}
search = evt => {
const query = evt.target.value
this.index = this.getOrCreateIndex()
this.setState({
query,
// Query the index with search string to get an [] of IDs
results: this.index
.search(query, { expand: true })
// Map over each ID and return the full document
.map(({ ref }) => {
return this.index.documentStore.getDoc(ref)
}),
})
}
}
You build a search index, fetch results based on a partial string, hydrate those results based on what the index returns, then map over them to display.
And that is seriously it. Your markdown pages will be built when Gatsby build runs and your search will index the first time you try to search.
Step 4: Add security
I’m not putting any state secrets or env variables in these logs, but I would rather not have a potential employer stumble upon them, mostly because I want to be free to talk about my struggles or be very clear about what I don’t know. If I have to censor myself, it will affect the quality of my logs.
At the same time, I can’t be bothered with a login or anything too fancy. So I opted for the silliest, loosest, easiest security I could come up with: a basic localStorage token. If you have it, you see the logs, and if not, too bad. Here’s how that works.
In landing-bio.js and anywhere else I want to protect:
const isBrowser = () => typeof window !== "undefined"
const isAuthenticated = isBrowser() && window.localStorage.getItem('authenticated');
[...]
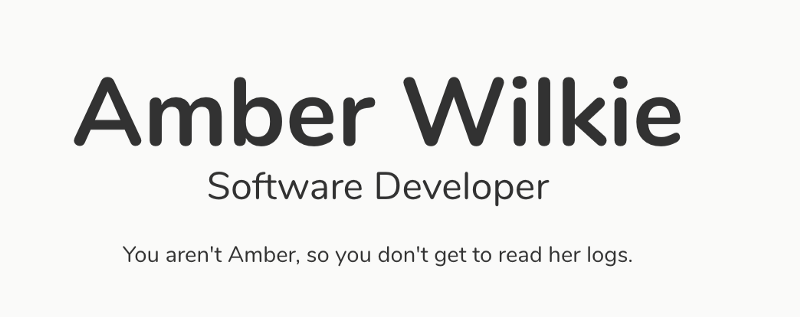
{isAuthenticated ? <SearchBar /> : <div>You aren't Amber, so you don't get to read her logs.</div>}I would never use this for actually-sensitive information, but it’s great for a tiny bit of peace of mind that my coworkers won’t be sneaking around my personal logs.
Note that the browser check (first line) is needed for this to pass tests on Netlify — it works fine without it otherwise.
Bonus: Deploy with Netlify
I talked about how much I love Netlify on my previous Gatsby blog post, and I still love them. It’s so dang easy to get your stuff right online.
All you’ll do is head over to Netlify, authorize them to access the Github where your logs are stored, and they will monitor Github and make new releases for you whenever you push to master. They will also create deploy previews when you make PRs! It’s really wonderful and I super-recommend them.

If you are going to create logs in markdown, I highly recommend a deploy system as easy as this one, and I don’t know of another that is as seamless.