As you may know, browsers are starting to catch up with ES6. However, not everything works as smooth as expected, and this can be a time-consuming and tedious problem to solve. If something goes wrong, trying to identify if the problem lies in the code or the browser is not an easy process.
But don’t worry, I’ll show you how you can quickly install and write ES6 code, and most importantly, make it compatible to all browsers that support ES5.
ES5 to ES6
In order to write ES6 code, we need to install something that can compile it to ES5. We will be using, Rollup. It compiles small pieces of code into something larger and more complex, such as a library or application. This allows you to use OOP (object-oriented-programming) which makes your code look cleaner, structured and modular, along with other useful functionalities. To clarify, JS is object-oriented, but is not a class-based object-oriented language like Java, C++, C#, etc, until the release of ES6.
Otherwise, the closest you can come to OOP in regards to include classes with ES5 is to use IIFE (Immediately Invoked Function Expression), or install external libraries. But why rely on external resources when you have a core-language that supports the OOP paradigm? Many of the most widely used programming languages already support it (like C++, Java, C# and PHP).
Why ES6?
Personally, I use it because it allows me to organize my code into separate files, which makes it easier to scale and maintain the code.
For instance, in my HTML, I have one script that loads main.js, and inside main.js, I load multiple JS files using import and export statements. Instead of having multiple scripts in my HTML file, I only need one (less code).
Prerequisites
- Linux or macOS (Debian based)
- NPM (package manager) installed
- Basic CLI knowledge
Step one: Install Rollup
In order to use Rollup we must install it globally. Remember to use sudo. This allows you to access Rollup commands in whatever project you work with.
Step two: File structure
After you’ve installed Rollup globally, the next step is to setup up the folder structure and create two folders src and dest inside your project. In addition, create index.html.
src→ ES6 files (Where you’ll write the code)dest→ Generates an ES5 (Compiled versions of ES6)

Keep in mind, the bundle.js file is auto-generated when the Rollup command is executed. We will talk about this later.
Step three: Create a configuration file
Create a new file and name it rollup.config.js . Then add this code:
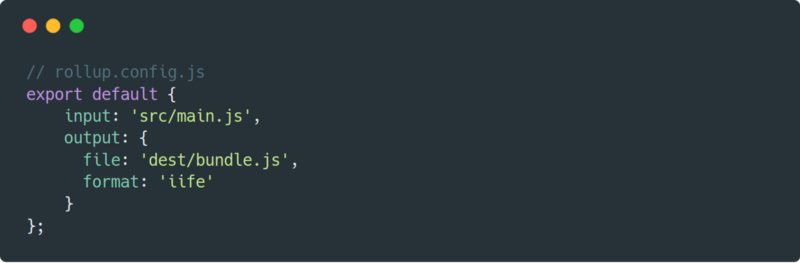
Make sure that the input and output source path is correct with your folder structure, and that this file is placed in the main folder.
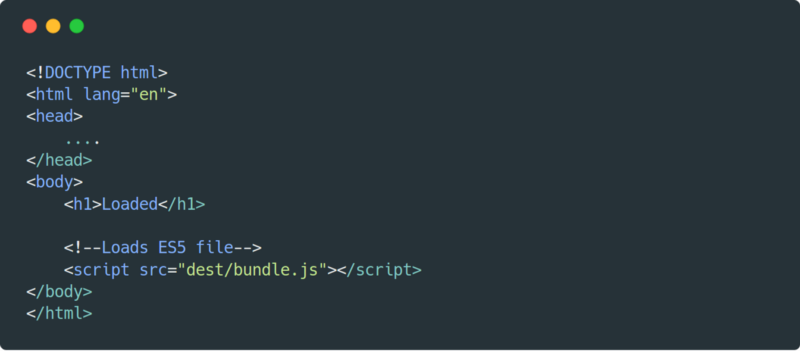
Step four: Load the script file in HTML
We are almost ready, but first we need to link to the right source file in our HTML template. This will load the ES5 file which is compiled from ES6.
Step five: Setup JS files
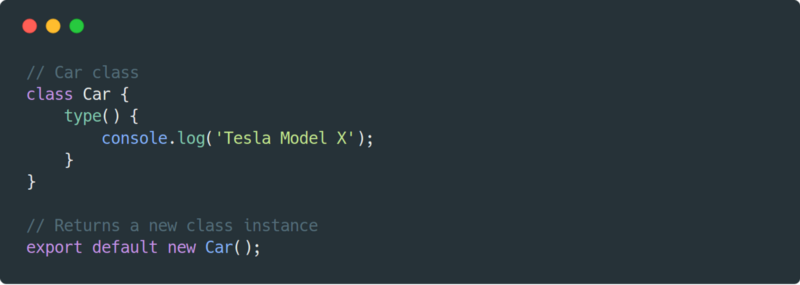
In order to verify that the Rollup command works, we need to setup a simple OOP structure. We will create a car.js class, and default export it to main.js.
Keep in mind that this file exports a new instance of the car.js class, and this allows to access the methods directly rather than writing const car = new Car() in the main.js class.
Since I am a lazy software engineer, dealing with a few extra characters of code is time-consuming :)
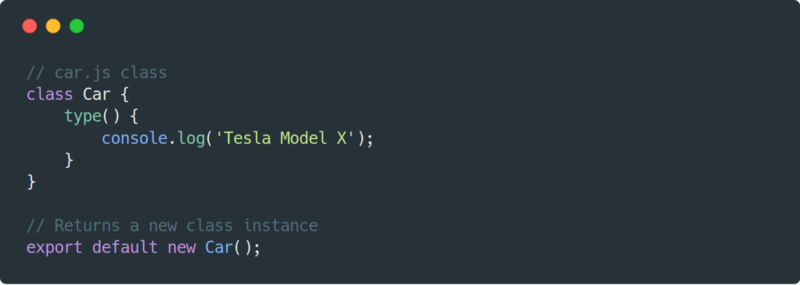
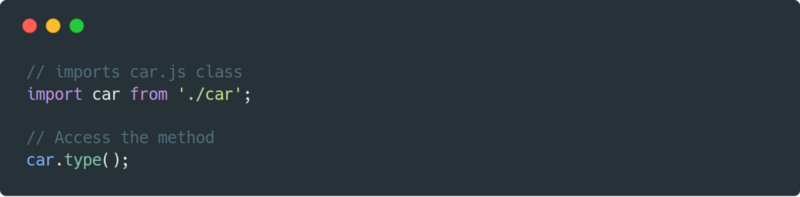
Next, import the car.js class to main.js in order to access the method’s type().
Step six: Compile ES6 to ES5
To execute the configuration file we’ve created, run this command $ rollup -c or $ rollup --config — both are the same.
After running one of the commands, open index.html through a browser, then open inspect (ctrl + shift + I) on the browser, and go to console. If you see the text "Tesla Model S", it means everything worked successfully.
Keep in mind that every time you make changes with ES6 files, you must update it by running the command.
Optional
Since you have installed Rollup globally, you can compile ES6 without needing to have the file rollup.config.js . It does exactly the same thing:
$ rollup src/main.js — o dest/bundle.js — f iife
Personally, I would recommend running $ rollup -c as shown in step six since there is less code required. Remember that you must have the file rollup.config.js included when running this command.
If you found this short installation approach setup for ES6 useful, please comment and clap. It’s good karma.