by Ryan Gordon
How to integrate Google Login into an Ionic app with Firebase
A lot of apps these days need to maintain some form of user authentication. This helps users manage their accounts and store their info securely. But account creation can be a bad experience for some users. Some do not want to have another account on some website where they have to remember yet another password, because their uncle Mick recommended never using the same password.
In the interest of improving the UX for these users, it’s helpful implement a way to sign in with accounts they already have such as Google, Facebook, or Github.
OAuth is how we can achieve this. Each of these providers and many others provide OAuth Authentication which we can use to sign these users in with their existing information. Furthermore, if a user likes to sign in with multiple providers, we can link one user account to one or more providers. This means that a user can sign in with either Google or Facebook and still access the same account in our system.
Do you just want the code instead of following the post? Check out the repo (and give it a star in you find it helpful)!
To follow along with this tutorial , youll need both Node.js and Ionic installed.
Getting started
To install Ionic and Cordova (which for the moment is needed for plugins), run the following in terminal after installing Node:
npm install -g ionic cordovaIf you get EACCES: permission denied, you may need to run the command with sudo ?
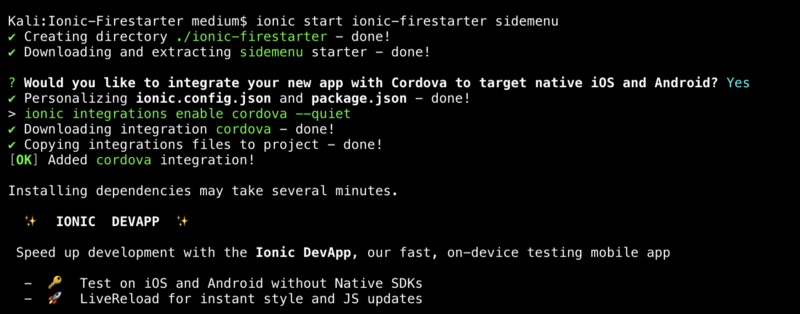
To create an app with Ionic, start <appname> <template>. For this, we’ll use a blank template as a starting point .
The code for Google signin will be put into a provider class which will be called by whichever page needs to use that sign in method.
ionic g provider authSetup app with Firebase and get credentials
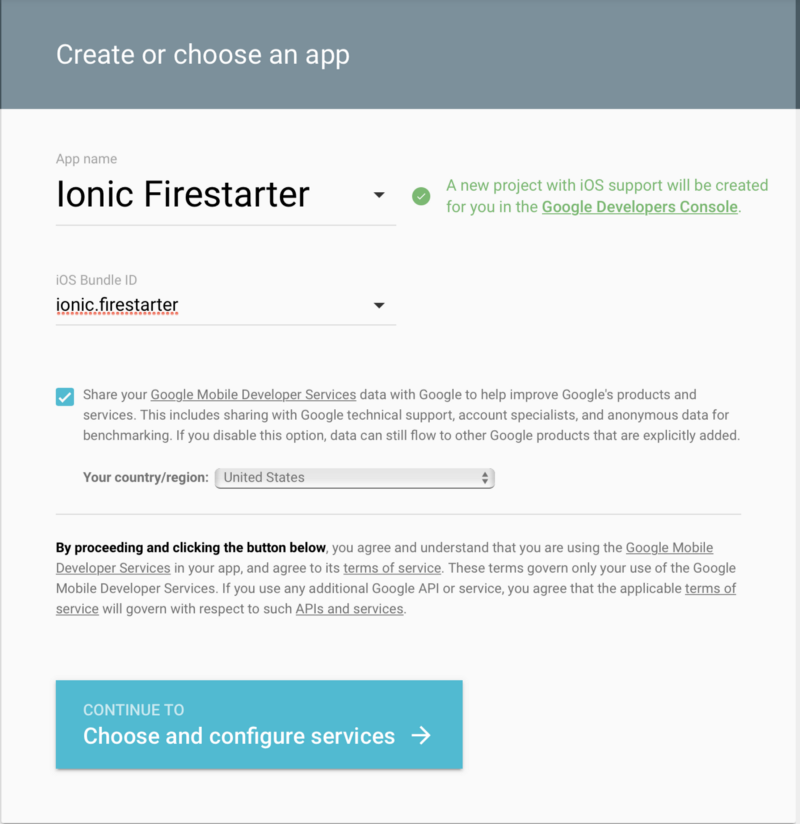
In order for firebase to work with both the native Android and iOS platforms, we’ll need to do two configurations for the app, each a little bit different.
For each device, we will need to configure the Google Sign In API.
iOS
For iOS setup, you need to supply the bundle ID. This is the value in config.xml which is usually set to io.ionic.starter. Change that to whatever you like, and then that will be your bundle ID.
Make sure you don’t leave it as the default value.
After setup, you will get a GoogleService-Info.plist. Save this file to the root of the Ionic project folder. After performing these steps, your done! For iOS at least..
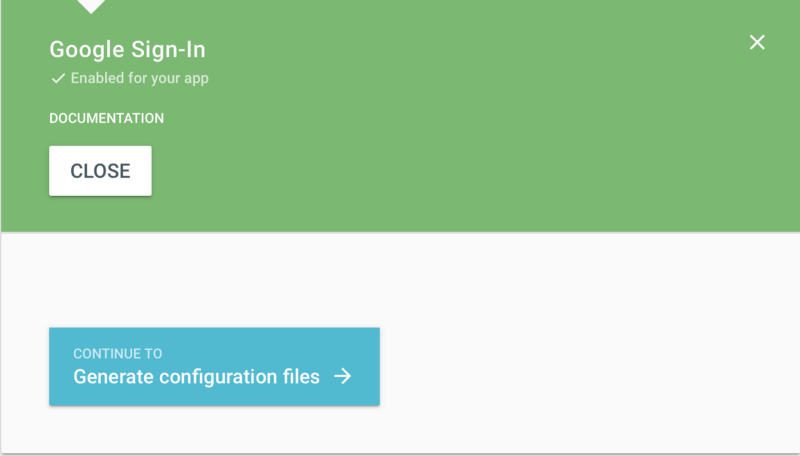
You should now see the following UI and have your Plist file downloaded and ready to use.
Android
The process for adding Google sign into the Android platform is almost identical, with one extra requirement. To get started, head to this link, and start creating your Android app.
It’s important to note that for building to Android (and also for using this plugin) you will need to install the Android build tools version 19.1.0 or higher.
Acquiring the key ?
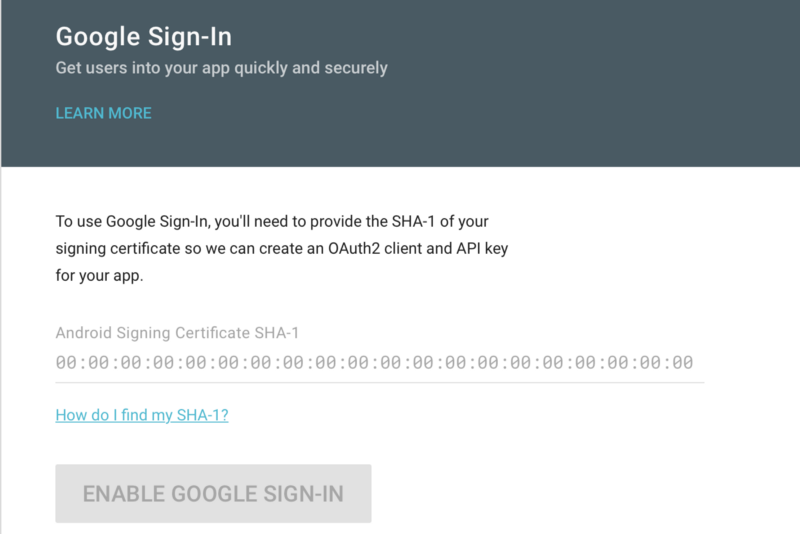
Once the build tools are installed and you’ve confirmed this, the keystore should be available to get the SHA-1 value we need for the Android part of the process. The keystore is used to hold the signing keys you use for the apps you build.
Run this command in the terminal to acquire the SHA-1 value need:
keytool -exportcert -list -v -alias androiddebugkey -keystore ~/.android/debug.keystoreImportant: This will be different from the keystore you would use if you are taking the app into production. Stop at this point and reflect — will you release this? It may be wise to use the release keystore if so.
After this step, head to this link, and add your Android project.
Make sure again that you have changed the config.xml ‘id’ value for your project so that it is no longer io.ionic.starter .
It will ask for the SHA-1 value we got from terminal. Input it and you’ll be given the option to download a google-services.json file. Download this file and save it to the root of your project. Keep it safe!
Installing Google Sign-in to your codebase
One of the good things about Ionic is its documentation. It has docs available for most of the plugins and components. The Google Sign-in docs for Ionic can be found here.
Run these commands in the terminal to add the plugin to the project.
$ ionic cordova plugin add cordova-plugin-googleplus --variable REVERSED_CLIENT_ID=myreversedclientid
$ npm install --save @ionic-native/google-plus
At this stage, you have the iOS and Android Google Sign-in API configured. You have two config files (one for each platform) and two plugins installed and ready to use.
Configuring Firebase
Firebase will be the host for the OAuth sign-ins like Google plus. Before it can be used in the project, you need to set up the project in Firebase. If you have never done this before, head to this post on how to setup a Firebase config and initialize Firebase itself.
At the very minimum, you need to have these packages installed:
npm install angularfire2 firebaseUsing the plugin
The first step will be to setup a listener which will react to events, such as when a user logs in or out. If a sign in event occurs, the user object will contain credentials for that user such as their name and avatar picture.
//Set up a listener for the when the AuthState changes (Login/Logout) and perform some action.
  firebase.auth().onAuthStateChanged( user => {
    if (user){
      this.userProfile = user;
    } else {
        this.userProfile = null;
    }
});This piece of code should be in the constructor of either the home.ts in this project or any page where you want to track the status of AuthState.
Google Login Code
You’ve made it this far. Doot doot! ?.
The final part of getting users signed in is the actual Google auth flow itself.
You need to test this part on a device, as the Ionic Native plugin uses Cordova which requires building onto a device.
googleLogin(): Promise<any> {
  return new Promise((resolve, reject) => {
      this.googlePlus.login({
        'webClientId': '5351366995-npuh9q89gaoiagoc4jssqck26gorj7hh.apps.googleusercontent.com',
        'offline': true
      }).then( res => {
              const googleCredential = firebase.auth.GoogleAuthProvider
                  .credential(res.idToken);

              firebase.auth().signInWithCredential(googleCredential)
            .then( response => {
                console.log("Firebase success: " + JSON.stringify(response));
                resolve(response)
            });
      }, err => {
          console.error("Error: ", err)
          reject(err);
      });
    });
}The pattern we are aiming for is setting up the functions to return promises. Then, if we need to, we can perform some action with the result.
If the sign-in is successful, then we will get a credential from the result and sign in the user to our Firebase.
Lastly, depending on how it goes, we will either resolve or reject the promise. This will trigger either the .then or .catch clause anywhere this function is called.
In the home.ts, this googleLogin function can be called with a .then and .catch clause, and the result will be passed accordingly in case we need to do anything with it.
When the sign-in is completed, the onAuthStateChanged listener will be triggered and the user information will be updated on the page.
Google Plus sign-in is now wired up to Firebase and working on the device. If you plan to take this app into production, as noted you’ll need to redo a few things and use a different keystore for release.
Conclusion
In this article, we have set up the Google Sign-in API and worked through a cross platform solution for signing users into our Firebase with Google Plus.
Although there is a lot of configuration required between Google Developers Console and Firebase, the benefit is that our users can now sign into any web app we build with their existing Google accounts.
This post is the first of a number I plan to write for Firebase / Ionic sign-ins.
If you want access to the code, here again is a link to the repo :
Ryan-Gordon/Ionic-Firestarter
Ionic-Firestarter - Ionic Firestarter is a open source project showcasing different Firebase features implemented in…
github.com
Want some similar posts on Ionic ? Here is a couple other posts I’v done:
Alternative Sign in Methods for Firebase with Ionic
In my other posts on Firebase sign ins, a focus has been put on Social providers. The main point of this emphasis is to…
medium.com