
by Rishal Hurbans
How to set up the Intel Movidius Neural Compute Stick
In 2017 I was approached by Intel to join their Innovator Programme. After a couple interviews I was inducted as an Intel Innovator in the AI space. The idea of the initiative is to support technologists around the world involved in the community by providing cutting edge hardware, speakership opportunities, and a platform to promote their work and engage with more people.
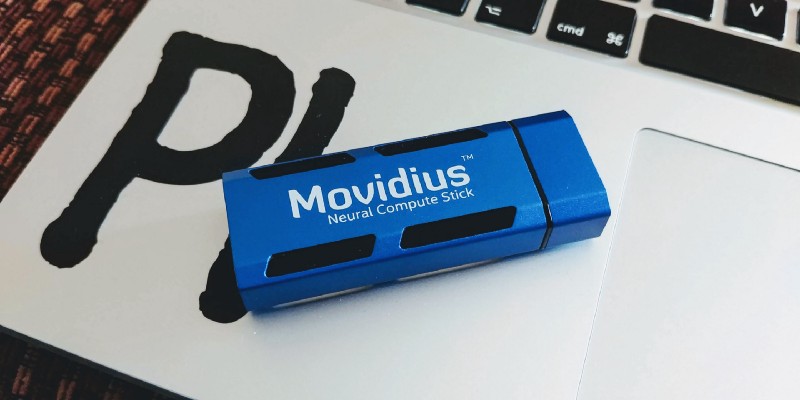
Intel sent me a Movidius Neural Compute Stick. It’s a USB stick a little larger than a thumb drive that is specifically designed to train and primarily run neural network graphs, which is particularly useful in running networks for deep learning where learning happened from media such as images and video. I’ll likely cover deep learning in a future post. From benchmarks, the Movidius neural compute stick promises to run models up to five times faster than a standard laptop.
Upon receiving the device, I realised that it currently only runs on Ubuntu 16.04 and the Raspberry Pi 3. Being a macOS user, this was a little problematic, so I decided to run an Ubuntu virtual machine to start tinkering with the device. This guide describes how I successfully setup an environment acceptable for the Movidius stick, and briefly describes its capabilities.
Setting up a virtual machine
The first step is getting a virtual machine(VM) up and running. Although there are a number of different VM software options, Virtual Box is a freely available one that’s simple to configure and use. Alternatives such as Parallels and VMWare may provide better performance if the VM is intended to be used as a primary workstation.
- Download Virtual Box.
- Install Virtual Box using the downloaded installer.
- Download Virtual Box Extension Pack.
- Install Virtual Box Extension Pack using the downloaded installer.
- Download Ubuntu 16.04 64 bit ISO image.
- Create a new virtual machine.
- Load Ubuntu 16.04 image as optical disk on the newly created virtual machine.
- Start the virtual machine.
- Follow the steps to install Ubuntu on the virtual machine.
My virtual machine specifications:
These are the configurations I used. Feel free to adjust the memory(RAM) and hard disk allocation as you see fit. Keep in mind that over-allocating resources will result in poor performance on the host operating system.
- Name: Ubuntu 16.04
- Type: Linux
- Memory Size: 3072 MB
- Virtual hard disk: 40 GB
Prerequisites on Ubunutu 16.04
Before getting the SDK and examples up and running, some dependencies are required to ensure that the development environment is ready and the necessary tools are available. This entails updating Ubuntu and making sure you have Python, PIP (PIP Installs Packages), and Git to clone code repositories.
- Update Ubuntu: A popup should appear to update Ubuntu or you can use this command in Console:
sudo apt-get upgrade - To use Console, simply click on the Ubuntu menu and search for the “Console” application.
- Make sure Python 3 is installed using Console:
python3 --version - If Python 3 is not installed, install it using Console:
sudo apt install python3 - Make sure pip 3 is installed using Console:
pip3 --version - If pip 3 is not installed, install it using Console:
sudo apt install python3-pip - Make sure Git is installed using Console:
git --version - If Git is not installed, install it using Console:
sudo apt install git-all
Make sure the Movidius Stick is recognised
Next, we get to setting up the Movidius stick. This involves ensuring that the USB devices is recognised by the virtual machine. Since a virtual machine gains access to hardware via the host operating system, some configuration is required for devices such as the Movidius where drivers are not distributed commonly.
- Plug the Movidius stick into a USB port.
- Use the
lsusbcommand in Console to determine if it is recognised by the VM and Ubuntu. You should see the Movidius stick in the list of USB devices. - If it is not recognised. Shut down the VM and follow the below instructions.
- Navigate to the settings of the VM in Virtual Box. Choose Ports > USB.
- Add a new filter for USB 2 providing just the Vendor ID as
03e7 - Add a new filter for USB 3 providing just the Vendor ID as
040e - Start the Ubuntu VM.
- Use the
lsusbcommand to list USB devices, and the Movidius stick should now be recognised. In my case, it worked being plugged into a USB 3 port but it was recognised as USB 2 vendor ID03e7.
Install NCSDK
The NCSDK is required to interact with the Movidius stick. The goal of the SDK is to provide an interface to neural compute hardware. This means that machine learning programs can be written to take advantage of the optimisation of purpose-specific hardware by using this SDK.
- Clone the NCSDK (Neural Compute Software Development Kit) repository in Console:
git clone https://github.com/movidius/ncsdk.git - If you have problems with the repository, download the NCSDK here. I used version 1:
1.12.00.01:
https://ncs-forum-uploads.s3.amazonaws.com/ncsdk/ncsdk-01_12_00_01-full/ncsdk-1.12.00.01.tar.gz
2.05.00.02:
https://ncs-forum-uploads.s3.amazonaws.com/ncsdk/ncsdk-02_05_00_02-full/ncsdk-2.05.00.02.tar.gz
Then perform the following steps:
- Navigate to the NCSDK directory in Console.
- Build the SDK in Console:
make install - Build the examples:
make examples
Build and Run Examples
Finally, we get to run some examples and see the Movidius in action. The Neural Compute App Zoo is a repository of examples that demonstrate how the NC SDK and Movidius stick can be used to train and process neural network graphs more efficiently than typical CPUs.
The example we will be looking at is image classification. Instead of creating our own model which will take countless of hours of data collection, data processing, and training, we will simply use GoogLeNet — a well trained model for image classification by Google. The graph engine used to process the model will be Caffe. Caffe is a widely used machine-vision framework which excels at image-related tasks.
- Clone the examples repository in Console:
git clone https://github.com/movidius/ncappzoo.git - Navigate to cloned directory:
cd ncappzoo - Build the examples:
make - Install sk-image if it’s missing:
pip3 install scikit-image - Make caffe GoogleImageNet graph:
cd caffe && make - Navigate to image-classifier:
cd apps/image-classifier - Run the example:
python3 image-classifier.py - Success! You should see results of the basic image classifier.

Go Forth and Conquer
Although the Movidius Neural Compute stick only supports Raspbian and Ubuntu at the moment, it is possible to get it running on your platform. Soon we will be seeing AI on edge devices such as drones, home automation cameras, and other IoT devices via purpose specific hardware solutions such as the Movidius. Explore the examples and build your own AI, share your great work, and help mould the future.
Keep in touch ✌️I’m active on Twitter: @RishalHurbans
I’m available on email via rishal[at]prolificidea[dot]com
I’m also writing more, so follow me on Medium.
If you enjoyed this article, please give it a clap, or five, or fifty. It will help others see it.