by Riyaz Ahamed
Create Android Recyclerview adapters like a boss with MultiViewAdapter
RecyclerView is an important widget in the Android framework and a large percentage of the Android apps out there use it. It’s a powerful tool that covers many generic use-cases. However, because of this flexibility, there’s a bit of work involved to create an adapter.
The support for multiple viewtypes was one of the advantages of RecyclerView over legacy listview. But displaying multiple viewtypes requires a lot of boilerplate code. It can quickly get out of hand if you have more than three viewtypes. You may have multiple if-else conditions, switch cases, and so on. Unfortunately, there is no easy way to reuse the creation and binding code of viewholders.
MultiViewAdapter is meant to solve this exact problem. There are a number of solutions available already, but such libraries have a few restrictions:
- Your data objects should have a common parent, which can interfere with your object modeling.
- You are forced to keep layout resource ID inside the model class itself. Again, this breaks dependency hierarchy.
- You are allowed to manage the view type ID yourself. Usually layout resource ID is returned as a view type. So you can’t use the same layout file for two different view types.
- They don’t take advantage of DiffUtil.
- You have to write switch cases, if you want to have different item-decorations/span-size/selection-modes for different view types.
MultiViewAdapter solves all of these requirements. The library was specifically designed in a way that won’t interfere with your object modeling and hierarchy.
Source code
DevAhamed/MultiViewAdapter
MultiViewAdapter - Recyclerview Adapter library to create composable view holdersgithub.com
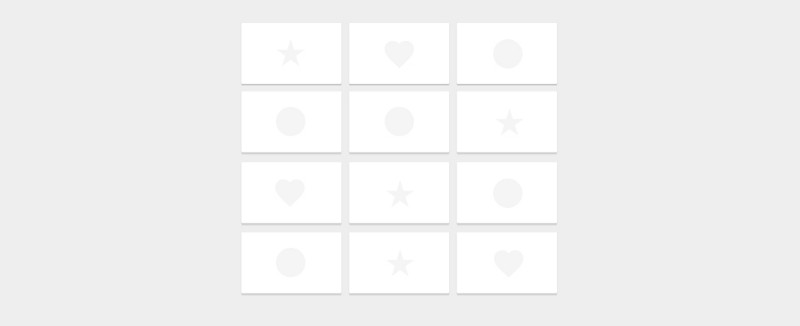
Here’s a sneak peek of what you can achieve with the library.
Features
- No restrictions about how you model your object classes and their hierarchy.
- Out of the box support for DiffUtil.
- Supports single selection and multi-selection.
- Each view type can have its own span count or ItemDecoration, among other things. You don’t need switch cases or if-else conditions.
How to use it
Add the dependency in your app’s gradle file.
Concepts behind MultiViewAdapter
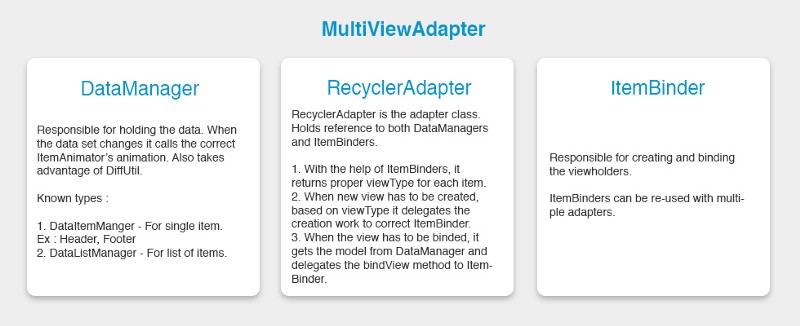
- RecyclerAdapter — This is the adapter class. It can have multiple ItemBinder and DataManagers. It extends from official RecyclerView.Adapter
- ItemBinder — ItemBinder’s responsibility is to create and bind viewholders. ItemBinder has type parameter which accepts the model class that needs to be displayed. ItemBinder needs to be registered inside RecyclerAdapter. ItemBinder can be registered with multiple adapters.
- DataManger — It holds the data and calls necessary animations when the data-set is modified. There are two DataManagers. DataListManager for list of items. DataItemManager for a single item (Header, Footer etc.).
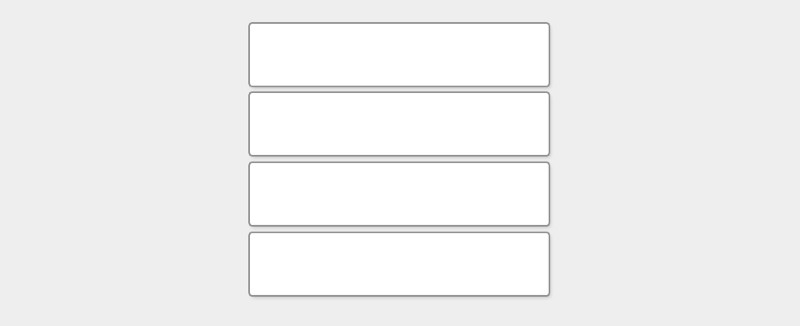
Creating simple adapters
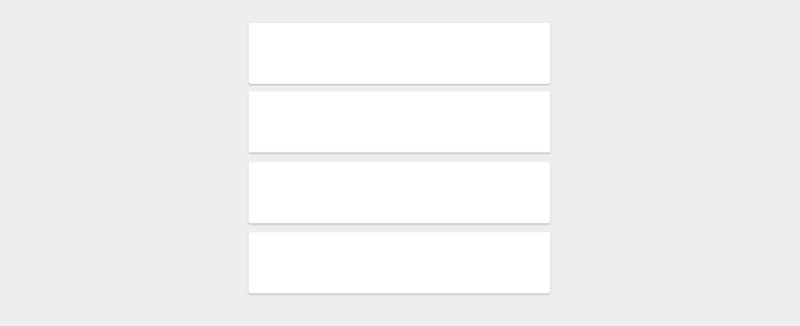
You have a list of objects, let’s say ‘Cars’. If you want to display a list of cars, here is the entire code.
Now you are good to go. You can use the adapter, CarAdapter carAdapter = new CarAdapter(); and set it to recyclerview. That’s it.
You might have noticed that with the traditional approach, we always create a single class CarAdapter. But when using the library, you need to create two classes — CarAdapter and CarBinder. The idea here is you can re-use the CarBinder in other adapters as well, say VehicleAdapter.
Using GridLayoutManager
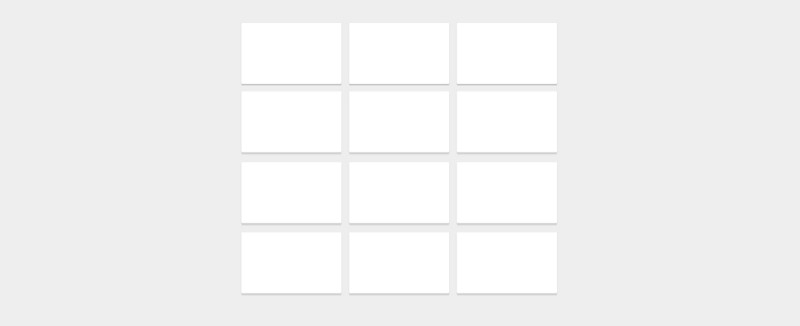
You do not need different adapters when you are displaying a grid of items. You can override the getSpanSize(int maxSpanCount) inside your ItemBinder class and return the span count.
Now get the spansize look up from the adapter and set it to your GridLayoutManager.
For different span counts
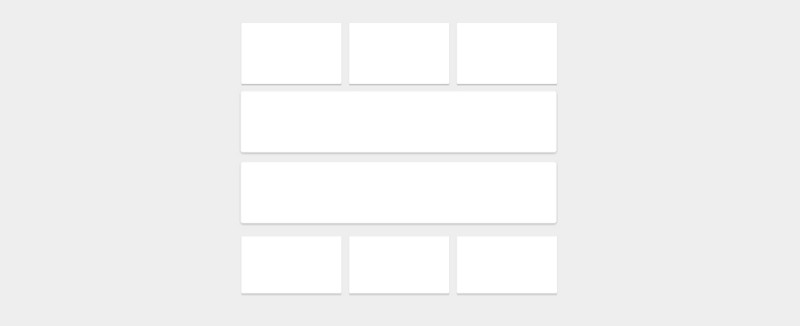
No worries here. By default, each item binder returns 1 as the span count. So if you want different span count other than the default, you can override the getSpanSize method and return the necessary span count.
Custom Item Decoration
This is the tricky part. It’s even trickier when you are not using this library. There are three steps for creating item decoration per view type.
- Create custom item decoration class extending from ItemDecorator.
2. When creating ItemBinder, pass the object of custom item decorator through the constructor.
3. Now get the item decoration from the adapter and add it to your recyclerview.
So much for the tricky part. Phew.
DiffUtil and Custom Payload
MultiViewAdapter takes care of DiffUtil by default. If you want to pass the payloads during the diffutil operation, you need to pass the object of PayloadProvider through the constructor. To learn more about diffutil read here.
Making an adapter selectable
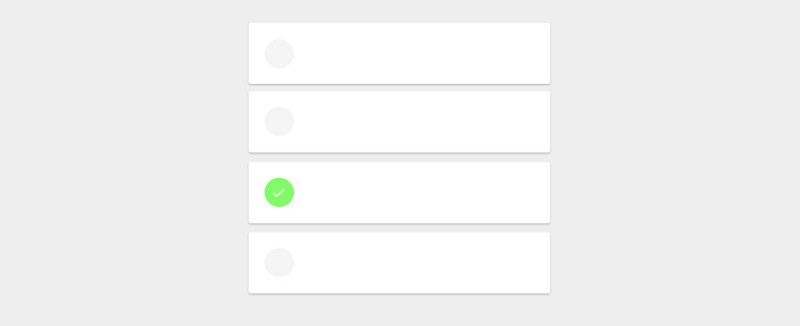
MultiViewAdapter supports three different selection options:
- Single selection — Only one item can be selected. Once an item is selected, it can’t be deselected unless another item is selected.
- Single selection or none — Only one item can be selected. An item can be deselected by doing the same selection operation.
- Multi-selection — Multiple items can be selected across different DataManagers.
To make an adapter selectable, you need to use “Selectable” counterparts of Adapter, ItemBinder, and ViewHolder. For example, you could use SelectableAdapter, SelectableBinder and SelectableViewHolder.
Let us take the CarAdapter example, and make it selectable.
Notes :
- It is not necessary that all the ItemBinders should be selectable. For example, if you have headers in a list it might not be selectable. So extend HeaderBinder from normal ItemBinder.
- You can re-use any selectable binder inside the normal adapter. It won’t be selectable. For an item to be selectable, both the adapter and binder should be extended from their Selectable counterparts.
- By default, on a long press an item will be selected. If you want the item to be selected, you can call
itemSelectionToggled()inside ViewHolder. - You can set or get selected items from the DataListManager using
getSelectedItems()andsetSelectedItems(List<E>items)
Listeners
ViewHolders have two listeners: OnItemClickListener and OnItemLongClickListener.
DataListManager has an ItemSelectionChangedListener and MultiSelectionChangedListener. These listeners can be used with SelectableAdapter.
Final notes
Thank you for reading! I hope this article helps you get started with the MultiViewAdapter library. The library itself is under active development and I have plans for adding some exciting features. You can watch the repository in GitHub to receive notifications. Also, you can take a look at the roadmap for the library at GitHub.
If you have any queries, issues, or feature requests regarding the library, you can reach me via Twitter.
To help others please click ❤ to recommend this article and star the library if you found it helpful.
All code appearing in this article and the library is licensed under Apache-2.0. Written by Riyaz Ahamed with ❤ from Bengaluru, India.