
Interested in learning Vue.js? Get my ebook at vuehandbook.com
One of them is the Vue Command Line Interface (CLI).
Note: There is a huge rework of the CLI going on right now, going from version 2 to 3. While not yet stable, I will describe version 3 because it’s a huge improvement over version 2, and quite different.
Installation
The Vue CLI is a command line utility, and you install it globally using npm:
npm install -g @vue/clior using yarn:
yarn global add @vue/cliOnce you do so, you can invoke the vue command.
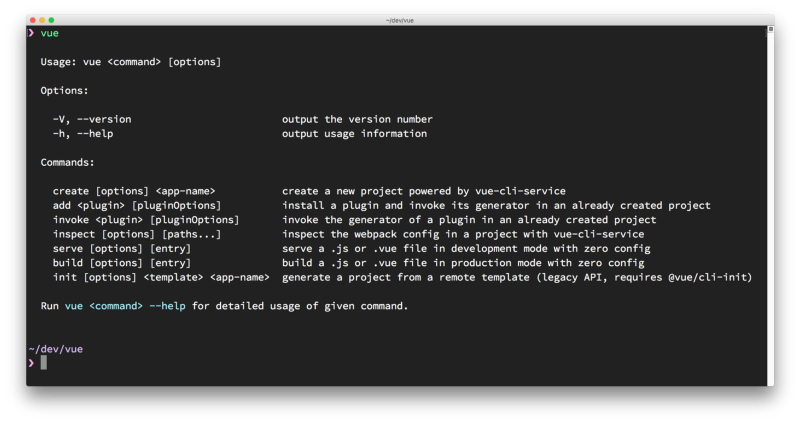
What does the Vue CLI provide?
The CLI is essential for rapid Vue.js development.
Its main goal is to make sure all the tools you need are working along, to perform what you need. It abstracts away all the nitty-gritty configuration details that using each tool in isolation would require.
It can perform an initial project setup and scaffolding.
It’s a flexible tool. Once you create a project with the CLI, you can go and tweak the configuration, without having to eject your application (like you’d do with create-react-app). You can configure anything and still be able to upgrade with ease.
After you create and configure the app, it acts as a runtime dependency tool, built on top of webpack.
The first encounter with the CLI is when creating a new Vue project.
How to use the CLI to create a new Vue project
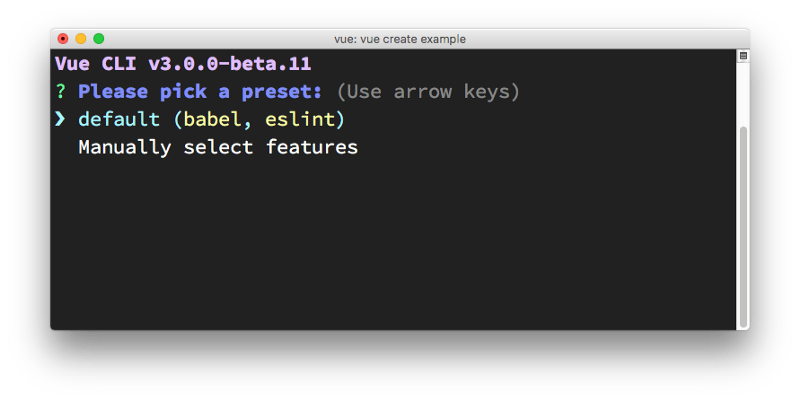
The first thing you’re going to do with the CLI is to create a Vue app:
vue create exampleThe cool thing is that it’s an interactive process. You need to pick a preset. By default, there is one preset that’s providing Babel and ESLint integration:
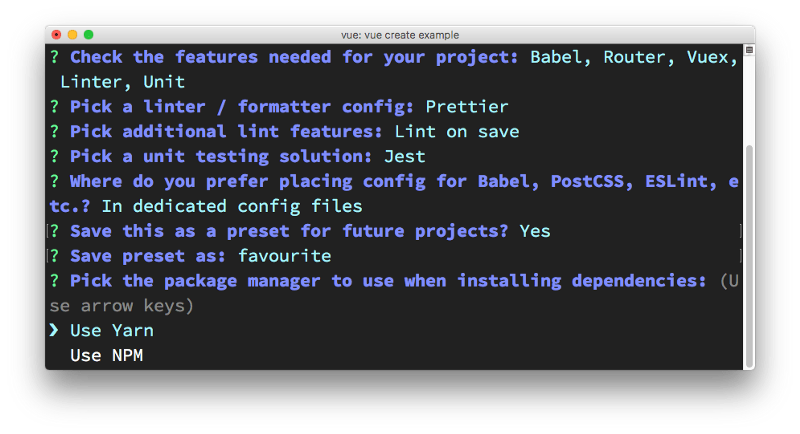
I’m going to press the down arrow ⬇️ and manually choose the features I want:
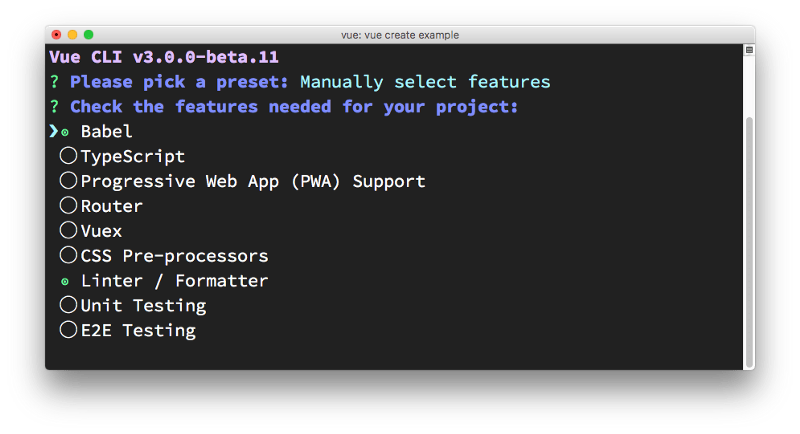
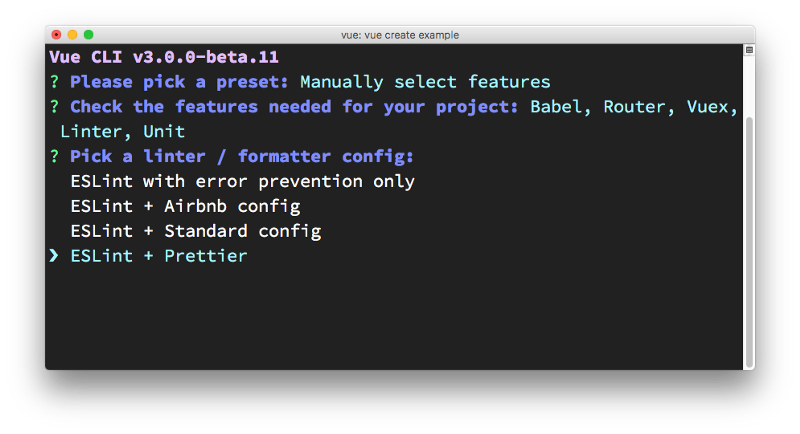
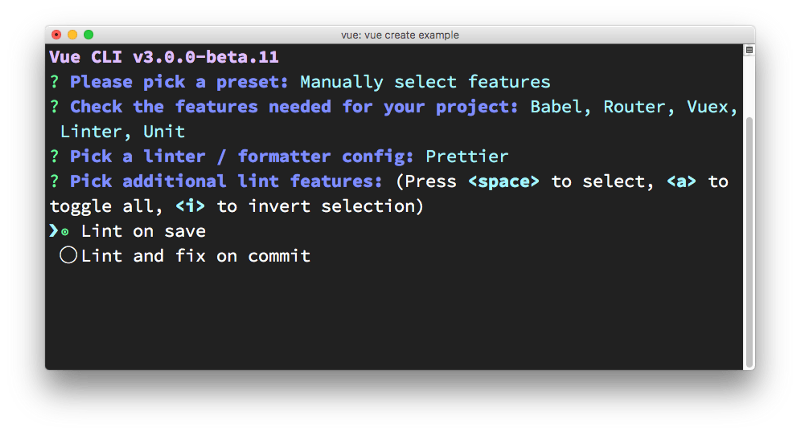
Press space to on each feature you need, and then press enter to go on. Since I chose “Linter/Formatter”, Vue CLI prompts me for the configuration. I chose “ESLint + Prettier” since that’s my favorite setup:
The next step is choosing how to apply linting. I chose “Lint on save”.
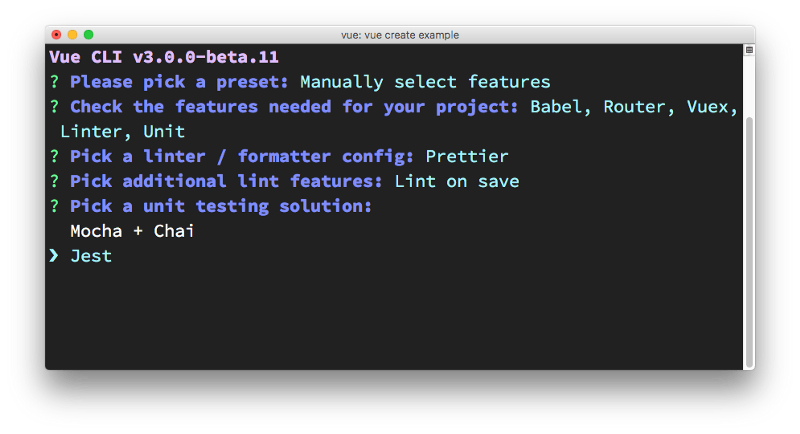
Next up: testing. I picked testing, and Vue CLI offers me the two most popular solutions to choose from: “Mocha + Chai” vs “Jest”.
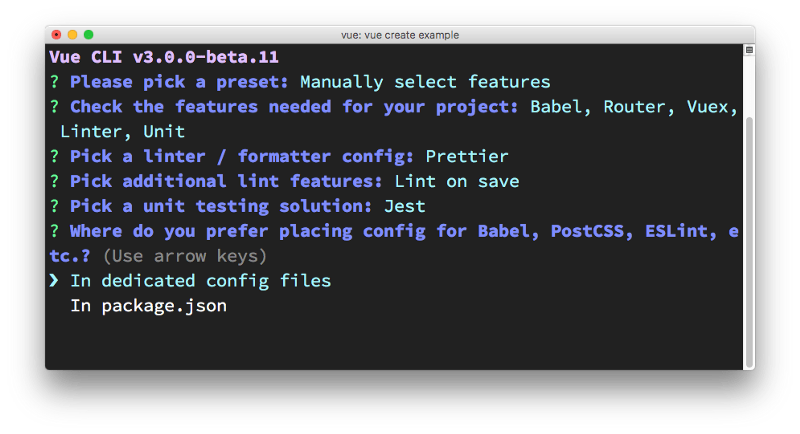
Vue CLI asks me where to put all the configuration. The choices are in the “package.json” file, or in dedicated configuration files, one for each tool. I chose the latter.
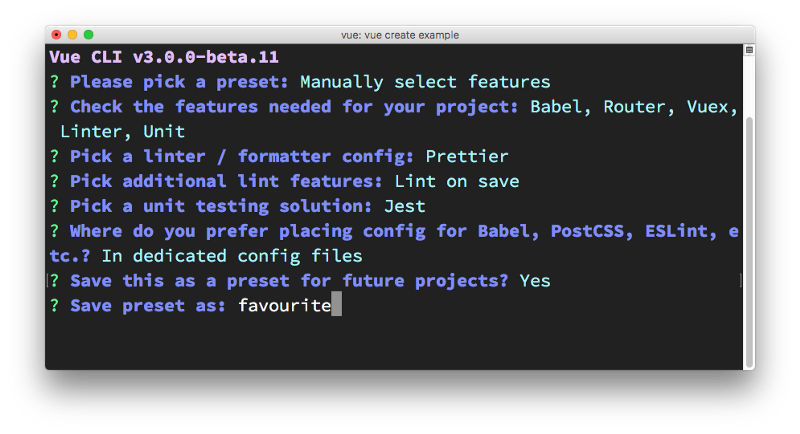
Next, Vue CLI asks me if I want to save these presets, and allows me to pick them as a choice the next time I use Vue CLI to create a new app. It’s a very convenient feature. Having a quick setup with all my preferences is a complexity reliever:
Vue CLI then asks me if I prefer using yarn or npm:
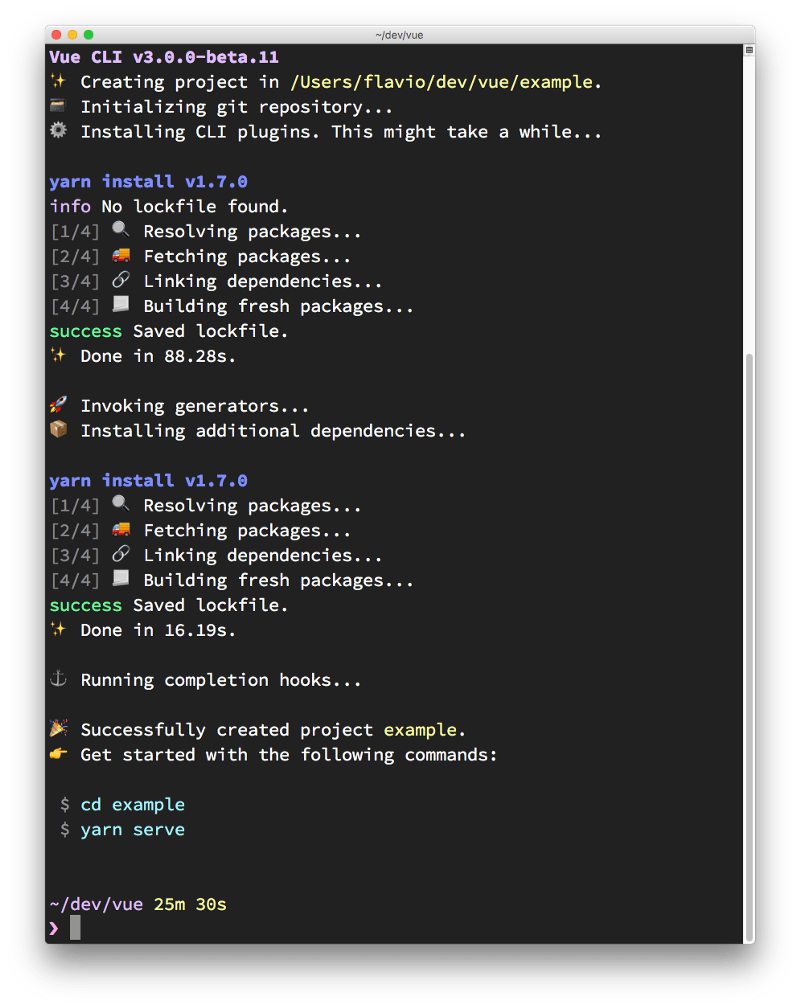
and it’s the last thing it asks me. It then it goes on to download the dependencies and create the Vue app:
How to start the newly created Vue CLI application
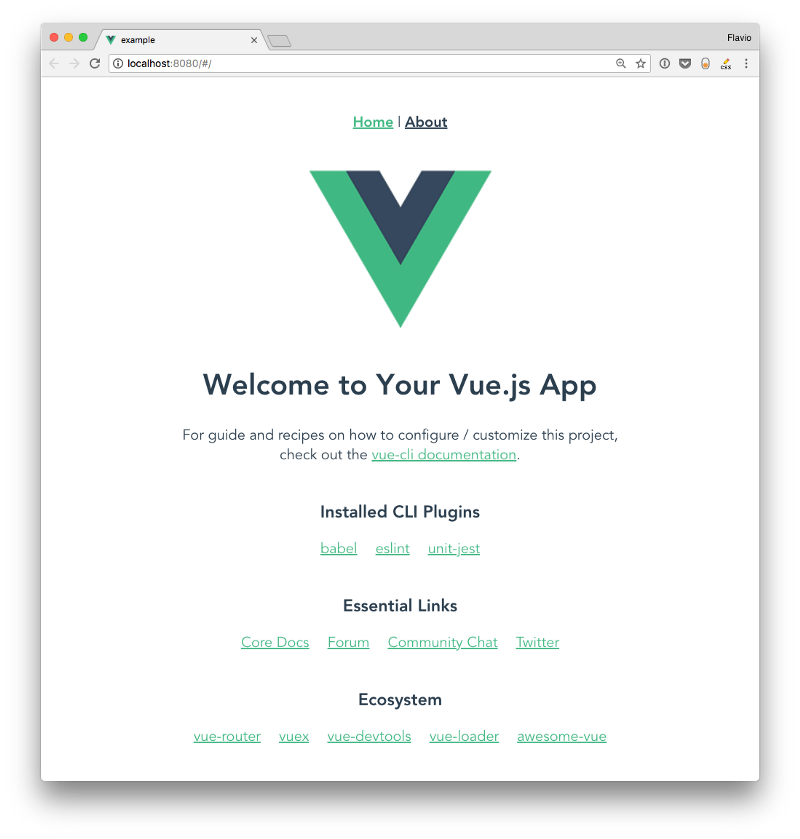
Vue CLI has created the app for us, and we can go in the “example” folder and run yarn serve to start up our first app in development mode:
The starter example application source contains a few files, including “package.json”:
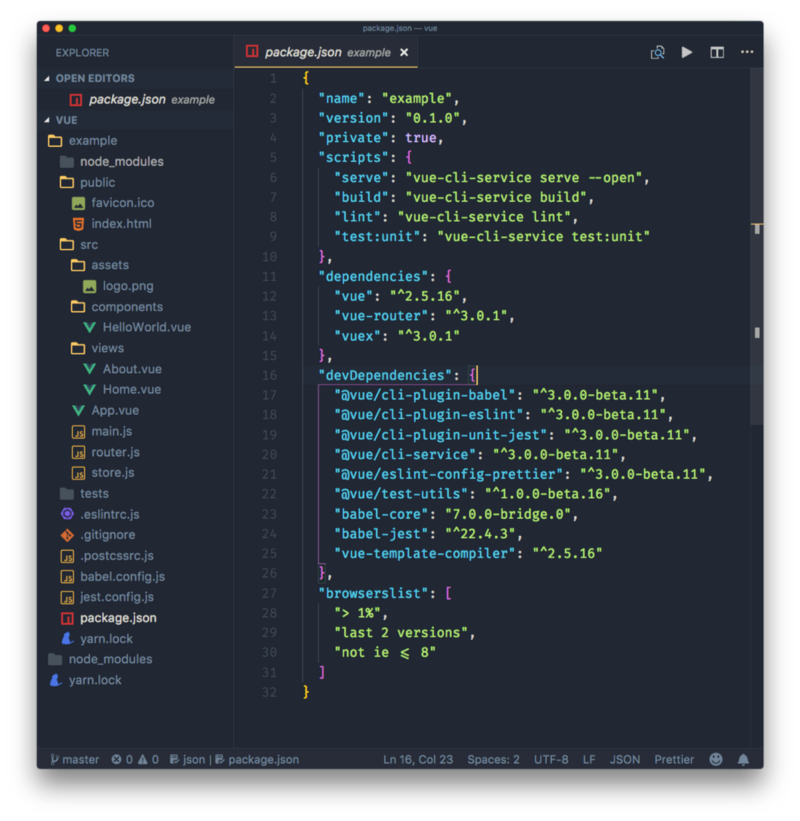
This is where all the CLI commands are defined, including yarn serve, which we used a minute ago. The other commands are
yarn build, to start a production buildyarn lint, to run the linteryarn test:unit, to run the unit tests
I will describe the sample application generated by Vue CLI in a separate tutorial.
Git repository
Notice the master word in the lower-left corner of VS Code? That’s because Vue CLI automatically creates a repository, and makes a first commit. We can jump right in, change things, and we know what we changed:
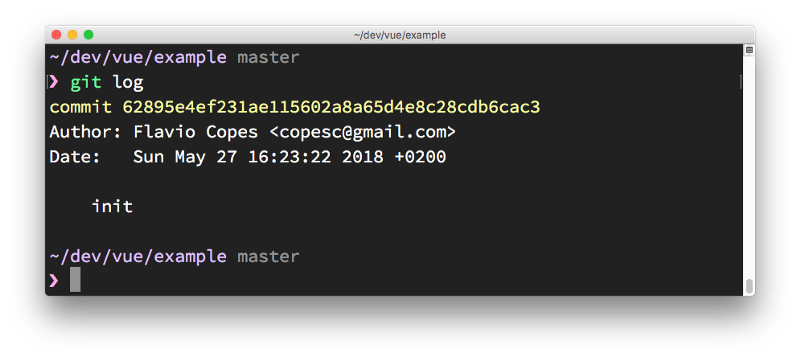
This is pretty cool. How many times do you dive in and change things only to realize, when you want to commit the result, that you didn’t commit the initial state?
Use a preset from the command line
You can skip the interactive panel and instruct Vue CLI to use a particular preset:
vue create -p favourite example-2Where presets are stored
Presets are stored in the “.vuejs” file in your home directory. Here’s mine after creating the first “favourite” preset:
{ "useTaobaoRegistry": false, "packageManager": "yarn", "presets": { "favourite": { "useConfigFiles": true, "plugins": { "@vue/cli-plugin-babel": {}, "@vue/cli-plugin-eslint": { "config": "prettier", "lintOn": [ "save" ] }, "@vue/cli-plugin-unit-jest": {} }, "router": true, "vuex": true } }}Plugins
As you can see from reading the configuration, a preset is basically a collection of plugins, with some optional configuration.
Once a project is created, you can add more plugins by using vue add:
vue add @vue/cli-plugin-babelAll those plugins are used at the latest version available. You can force Vue CLI to use a specific version by passing the version property:
"@vue/cli-plugin-eslint": { "version": "^3.0.0"}This is useful if a new version has breaking changes or a bug, and you need to wait a little bit before using it.
Remotely store presets
A preset can be stored in GitHub (or on other services) by creating a repository that contains a “preset.json” file, which contains a single preset configuration.
Extracted from the above, I made a sample preset in https://github.com/flaviocopes/vue-cli-preset/blob/master/preset.json which contains this configuration:
{ "useConfigFiles": true, "plugins": { "@vue/cli-plugin-babel": {}, "@vue/cli-plugin-eslint": { "config": "prettier", "lintOn": [ "save" ] }, "@vue/cli-plugin-unit-jest": {} }, "router": true, "vuex": true}It can be used to bootstrap a new application using:
vue create --preset flaviocopes/vue-cli-preset example3Another use of the Vue CLI: rapid prototyping
Until now, I’ve explained how to use the Vue CLI to create a new project from scratch, with all the bells and whistles. But for really quick prototyping, you can create a really simple Vue application — one that’s self-contained in a single .vue file — and serve that, without having to download all the dependencies in the node_modules folder.
How? First install the cli-service-global global package:
npm install -g @vue/cli-service-global //or yarn global add @vue/cli-service-globalCreate an “app.vue” file:
<template> <div> <h2>Hello world!</h2> <marquee>Heyyy<;/marquee> </div></template>and then run
vue serve app.vue
You can serve more organized projects, composed by JavaScript and HTML files as well. Vue CLI by default uses “main.js” / “index.js” as its entry point. You can have a “package.json” and any tool configuration set up. vue serve will pick it up.
Since this uses global dependencies, it’s not an optimal approach for anything more than demonstration or quick testing.
Running the vue build command will prepare the project for deployment, and generate the resulting JavaScript files in the dist/ folder, so that it will be production-ready. All the warnings that Vue.js generates during development are removed, and the code is optimized for real-world usage.
Webpack
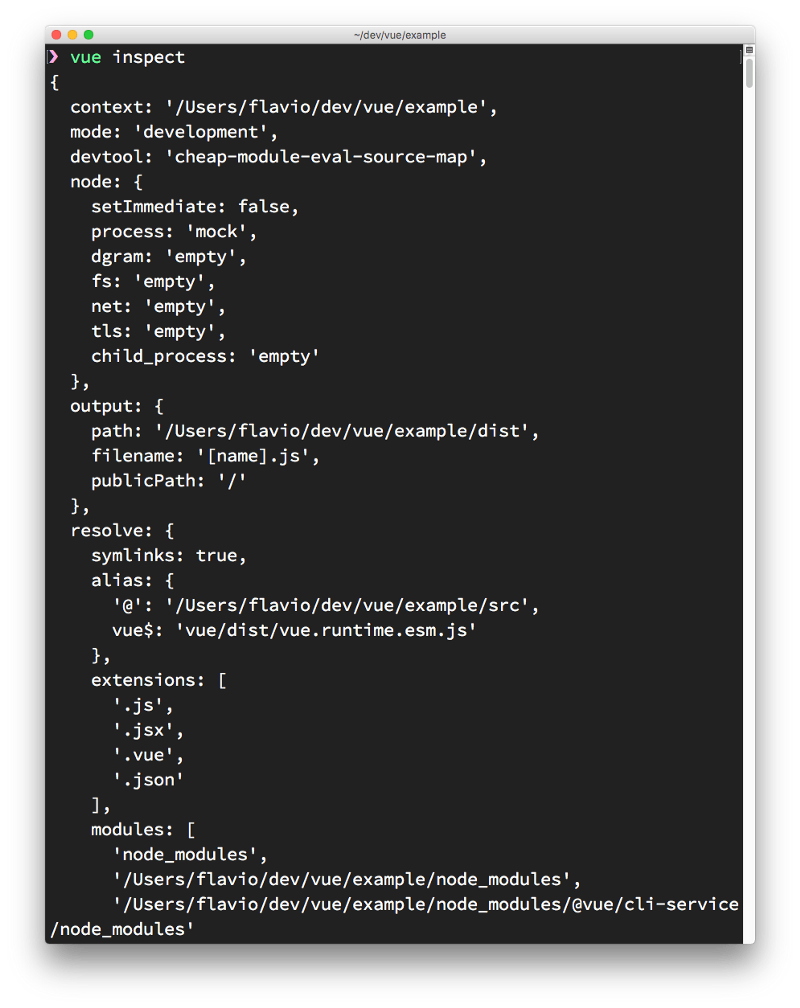
Internally, Vue CLI uses Webpack, but the configuration is abstracted and we don’t even see the config file in our folder. You can still access it by calling vue inspect:
Interested in learning Vue.js? Get my ebook at vuehandbook.com