
by Eric Tirado
Learn HTML in 5 minutes
A quick tutorial to help you get started building websites.
HTML is the markup language used for structuring and presenting content on the World Wide Web. Together with CSS and JavaScript, it enables us to have beautiful and interactive websites.
Since HTML is the foundation of the web, it is also the most essential language for any web development career path. In this fast-paced tutorial, I’ll teach you the very basics of it.
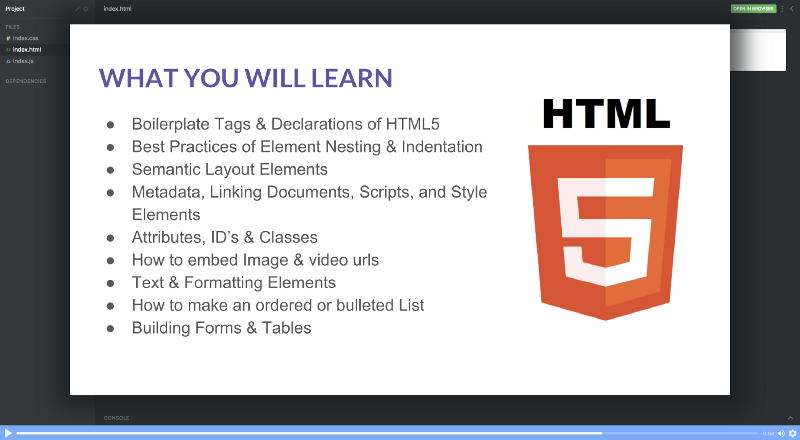
And when you’re done, I have already launched a free 14-part course on HTML5 over on Scrimba.com — an interactive platform where you can jump into the code of a playing screencast at any given time.
You can check out the first lecture here:
Alright, before we jump into the HTML, I want to start out by telling you a little bit about the architecture of the web. This will put the role of HTML into perspective for us.
Basic web architecture
Once you’ve developed a website, you’ll need to host it on a server to make it accessible on the world wide web. All servers have an IP address (i.e 149.56.240.169) which you can think of as a phone number. We normally put a domain name (i.e. scrimba.com) over that IP address, so that it’s easier to remember.
When you type that domain name in the browser, it’ll give the server a call. The server will then send over a bunch of HTML, CSS, and JavaScript files, like this:
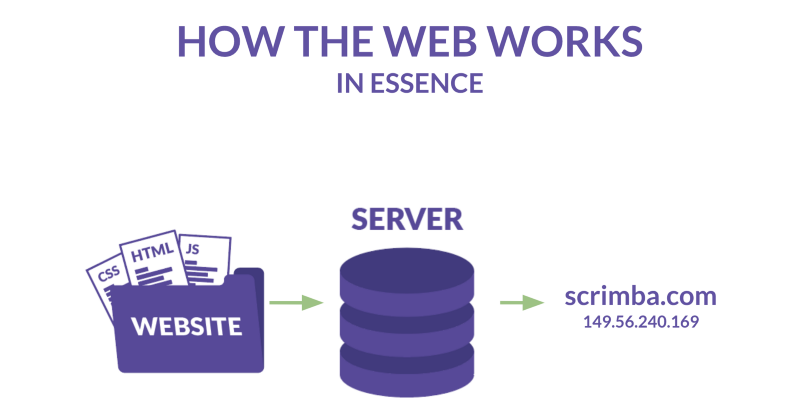
You browser starts by loading the main HTML file, before it continues with the CSS and JavaScript. These files enable the browser to render a beautiful and interactive website.
Now let’s have a closer look at the roles these three languages play.
What is HTML?
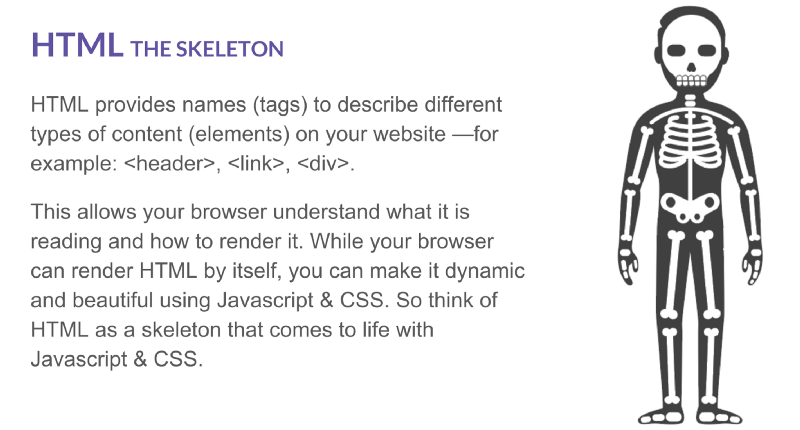
Let’s imagine a website as a person. We’ll use this analogy to understand our website. The HTML is best described as the skeleton:
What is CSS?
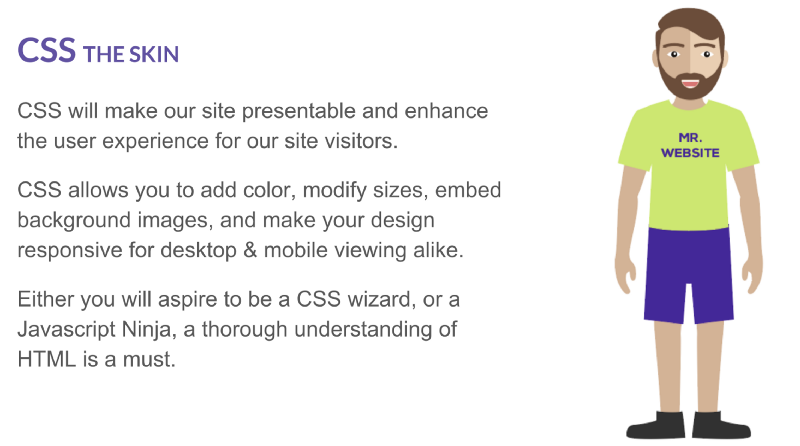
However, just a plain HTML website looks pretty ugly, so you’ll need to style it with CSS. It can bee seen as the skin and clothing of the website.
What is JavaScript?
Once you master CSS, you should continue to JavaScript. In our analogy, this is like the brains and muscles of our website:

Writing your first HTML file
In order to be able to write HTML, you’ll need an HTML document, which is just a document with an .html extension. It doesn’t matter which text editor you use, but the most popular ones these days are Sublime Text, VS Code and Atom. You can also use Scrimba as an in-browser editor.
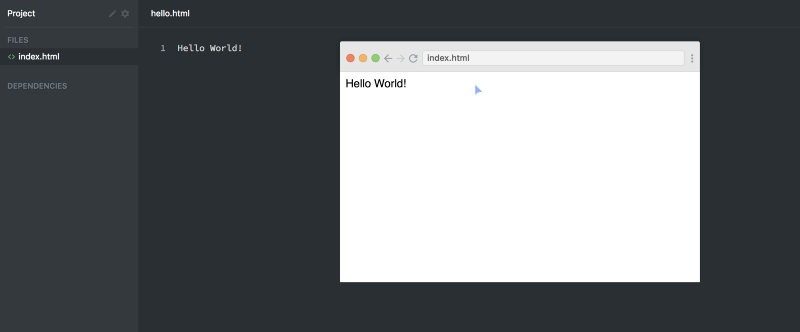
Let’s create a new file, and call it index.html, and write Hello world! in it.
Hello world!If we drag this file into the browser, or point the browser to the address of this file, we’ll get the following.
Congrats, you’ve now created your first website!
Your first HTML tag
However, we haven’t written any HTML tags yet. To do that, let’s wrap the Hello world! text in <h1> tags, like this:
<h1>Hello world!</h1>The first <h1> is an opening tag, and the second one, </h1>, is a closing tag. As you can see, the difference is only the backslash in the closing tag. This will result in the following on the page:
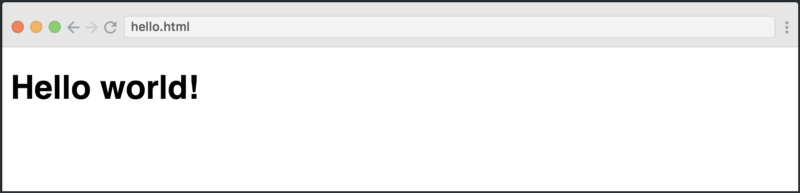
You’ve now told the browser that you want the Hello world! text to be a heading. Thus the browser applies some styling to it, basically increasing the size of the text.
So that’s how easy it is to start writing HTML.
Writing a proper HTML document
But this isn’t actually a valid HTML document, as they should follow a clearly defined structure. For the purpose of this tutorial, I’m simply going to show it to you briefly, and then we’ll continue with the fun stuff.
Here’s how our Hello world! example should look like:
<!DOCTYPE html><html> <head> </head> <body> <h1>Hello world!</h1> </body></html>You don’t have to worry about the <!DOCTYPE>, <html>; and <head> tag for now, as we’ll simply write our content in the <body> tag. Let’s continue with that!
Paragraphs
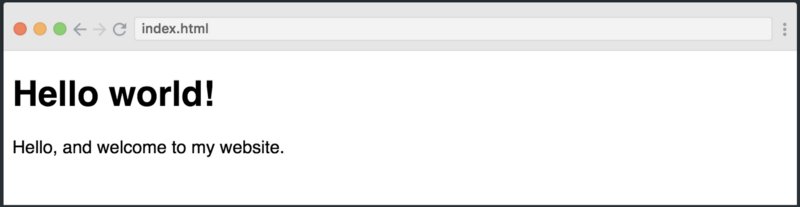
Below the h1 tag we’ll add a paragraph. This tag is usually used for, well, paragraphs of text.
<h1>Hello world!</h1><p>Hello, and welcome to my website!<p>Here’s how it looks:
Lists
Now let’s add a list. To do that, we need to add two different tags, <ul>; and <li>. The former stands for unordered list and the latter stands for list item. We’ll need to wrap the <li>; tags inside the <ul> tag.
<ul> <li>Eat</li> <li>Sleep</li> <li>Code</li></ul>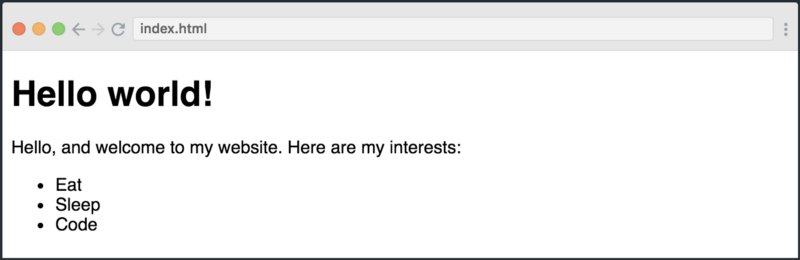
If you change the <ul> to an <ol>, then the bullets will be replaced with numbers, as it stands for ordered list.
Input fields
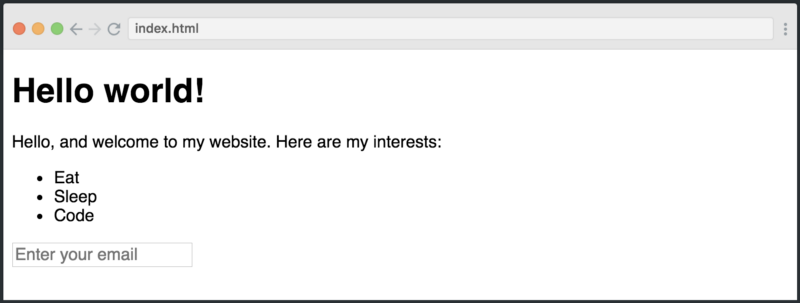
Getting inputs from users is a critical activity on websites. Let’s add an input field.
<input type="text" placeholder="Enter your email" />Which would add the input field at the bottom of our site:
Now there are two new concepts to learn here: attributes and self-closing tags. The first one, attributes, provides additional information about the HTML elements.
In our case, we’re adding two attributes: type and placeholder. The type tells the browser that this should be a text field. Here, we could have chosen between a range of types (radio, select, checkbox, date) which would have turned it into completely different elements.
The placeholder dictates the help text inside the element.
Finally, the input tag is also a self-closing element (also known as a void element.), meaning it doesn’t consist of an opening and closing tag, but only one tag which closes itself.
Next steps
There is so much more stuff to learn in HTML, and it’s not difficult at all. My full course can be completed in less than an hour, and it’ll give you a solid understanding of the basics and enable you to start building real websites!
If you’re hungry for more, we’ve got a free 14 course meal...
on my Learn HTML5 for Free course over at Scrimba.com.
See you there. ?