by John David Chibuk
Learn to build a Convolutional Neural Network on the web with this easy tutorial
This post explains how to build your first Convolutional Neural Network (CNN) to detect between two image types: for example, a bunny or a puppy.
Thanks to Google’s new web tool, getting started building and prototyping your own neural network can be quite easy.
Here is a link to the web-based application. It shows you the code and lets you run “paragraph by paragraph” (shift+enter) jupyter notebook code to let you train a model and then test it. Find the Github public repo here.
The first step is to set up the Colab notebook + image data folders on your own Google drive, so let’s do that!
In your Google drive, you will need to set up folders with images that store the data to be trained. You can copy this folder directly and put in your own Google drive, and then unzip it and put it in a folder called “Colab Notebooks” in your base Google drive folder.

In the images folder, there are two subfolders.
train
test
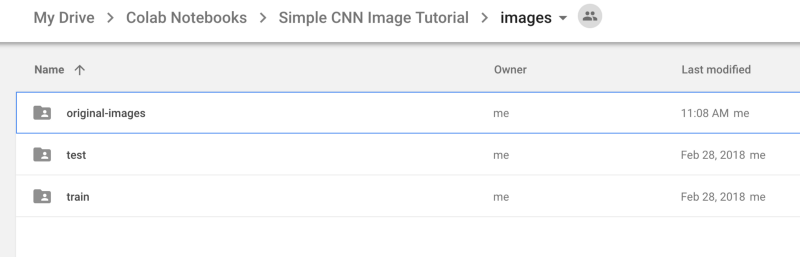
Each of these folders then contains folders to represent the types of images you want to identify.
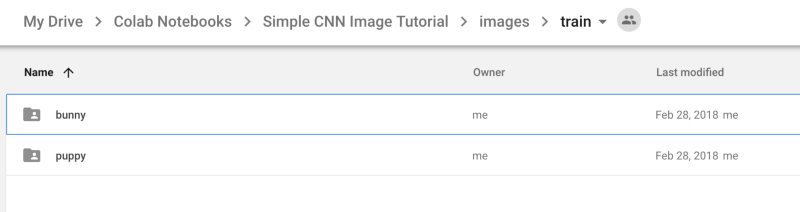
bunny
puppy
There should be a bunny and puppy folder in each train + test folder.
Fill these folders with images. Put ~80% in the train folder and 20% in the test folder.
The tricky part of the tutorial is getting the folders linked properly within Google drive. You need to connect via API keys a few times to establish the proper connection to your personal Google drive folder.
Please note: you need to keep the same folder structure as defined in the tutorial to have it run properly.
In your base Google Drive folder, you should have a folder called: Colab Notebooks.
Inside there should be a directory called: Simple CNN Image Tutorial
This should contain the contents of the images and Colab notebook from above.
Step by step
Step 1 installs the required libraries to build and train a model with Google’s tensorflow + Keras. Keras is a simplified layer to make model training easier on top of Tensorflow.
Step 2–5 links your Google drive up to the project, copies the keys over from the cells, and pastes them in the notebook as they are generated. This might take a few tries, but its okay!
Step 6 You can change the structure, but you will need to update the path in the notebook to match where you put the base Simple CNN Image Tutorial folder.

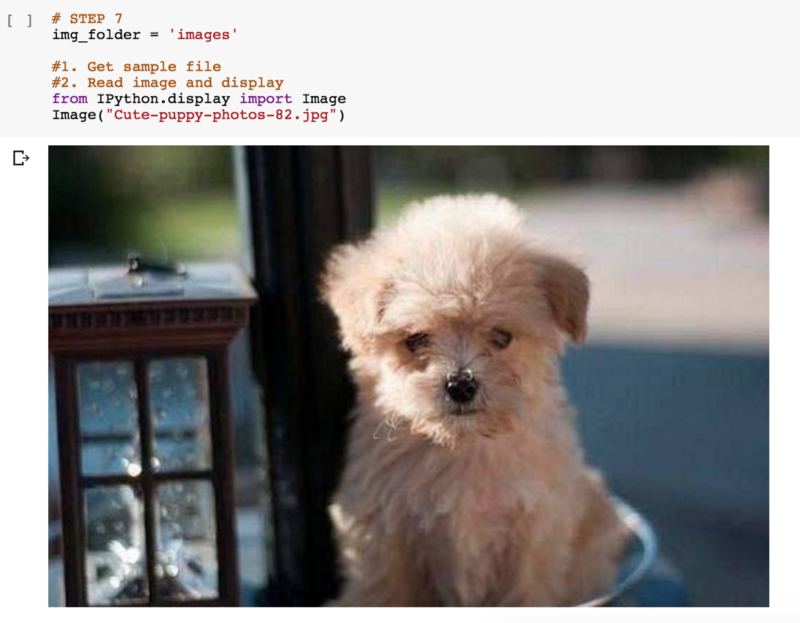
Step 7 confirms that you have your images loaded in Google drive.
To run the process, simply click the first paragraph area and click “shift + enter” on your keyboard. This runs the code in each cell and lets you step through the process.
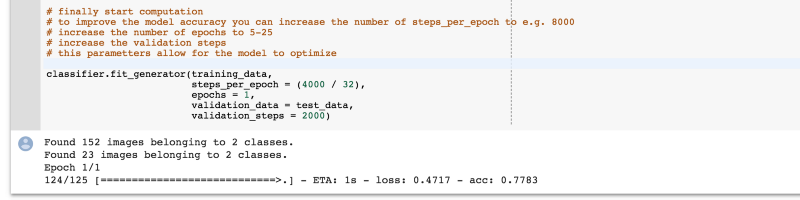
Step 9 trains your model. If everything is referenced properly it should show output like this ->
When it’s done, your model will be trained and you can test images from what you put in the new images folder:

Simply change the image name text in the line of code:
test_image = image.load_img(‘./newimages/puppy3.jpg’, target_size = (64, 64))So you would change for example:
‘./newimages/puppy3.jpg’ to ‘./newimages/bunny1.jpg’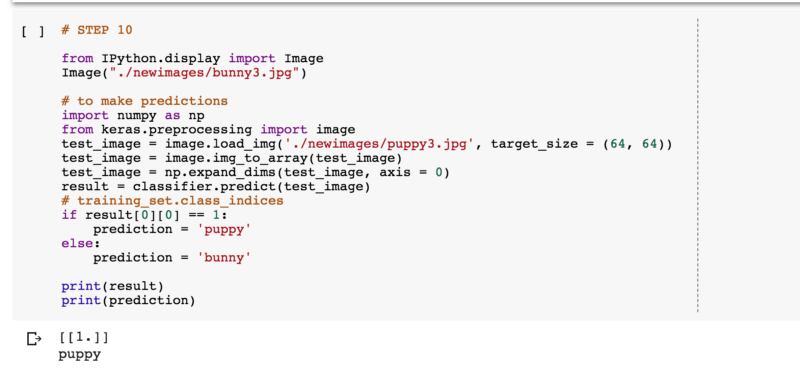
Finally run the paragraph and see what your model classifies the new image to be!
Congrats you have just trained and tested your first convolutional neural network — it’s bananas!