
by Tracy Lee | ladyleet
How to set up a Basic Ember.js app

So, you want to test out Ember, eh? This article will walk through building a basic app.
Here’s what we’ll do:
- Set up ember-cli
- Create a new application
- Use materalize-css for styling
- Create components
- Cover basic use of Ember’s router
- Explore the “each” helper for iterating over data
First things first, you should install ember-cli. Almost all applications are built with ember-cli. It’s very rare that you’ll find one that is not.
And here’s one major benefit of Ember and the Ember community — they rely on convention over configuration more heavily than Angular and React do. They use this as one of their strengths, making them a popular framework for companies who want to build large scale applications.
Being conventional allows Ember to develop community standards such as the ember-cli-deploy story, a strong story around Ember Data, and the loads of contributions the community is able to make through the ember addon ecosystem. (check out emberaddons.com)
At the Ember.js website, you’ll find simple install instructions, and even a little quick start guide you can walk through!
Go ahead and install ember-cli to get started:
$ npm install -g ember-cli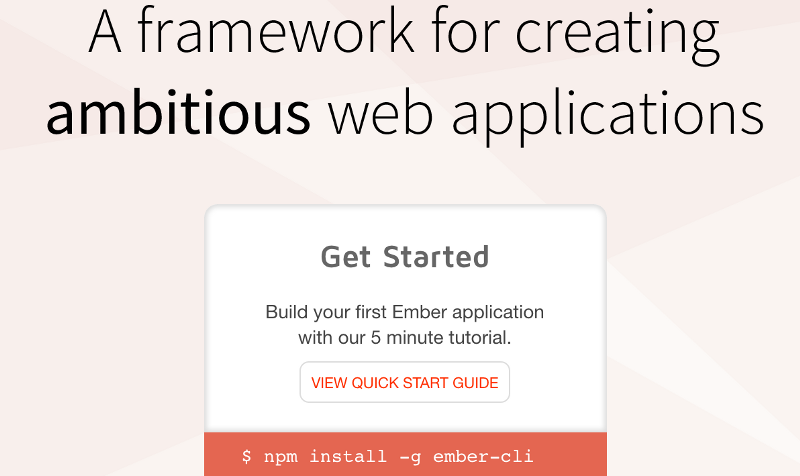
Creating a new application
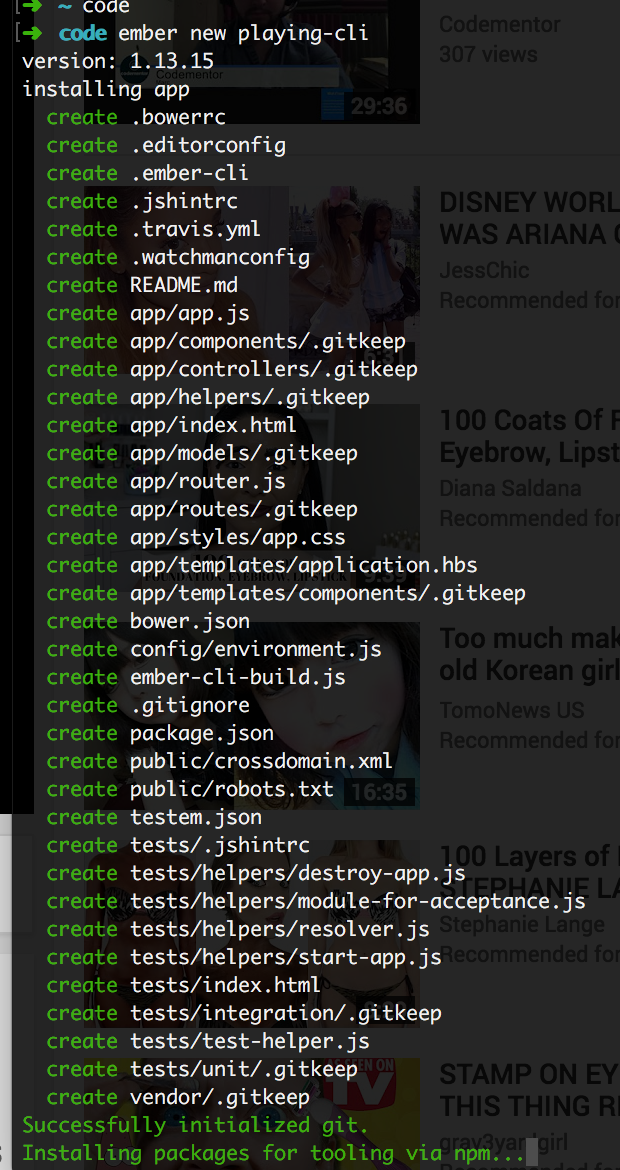
This is as easy as 1–2–3! Simply ember new <project name> and an application will be generated for you.
ember new yolobroloYou’ll see ember-cli creating quite a few files.
Mainly, you should note that Ember has created:
- application.hbs (handlebars, which is your html file)
- app.js
- router.js
- package.json
- bower.json
- tests
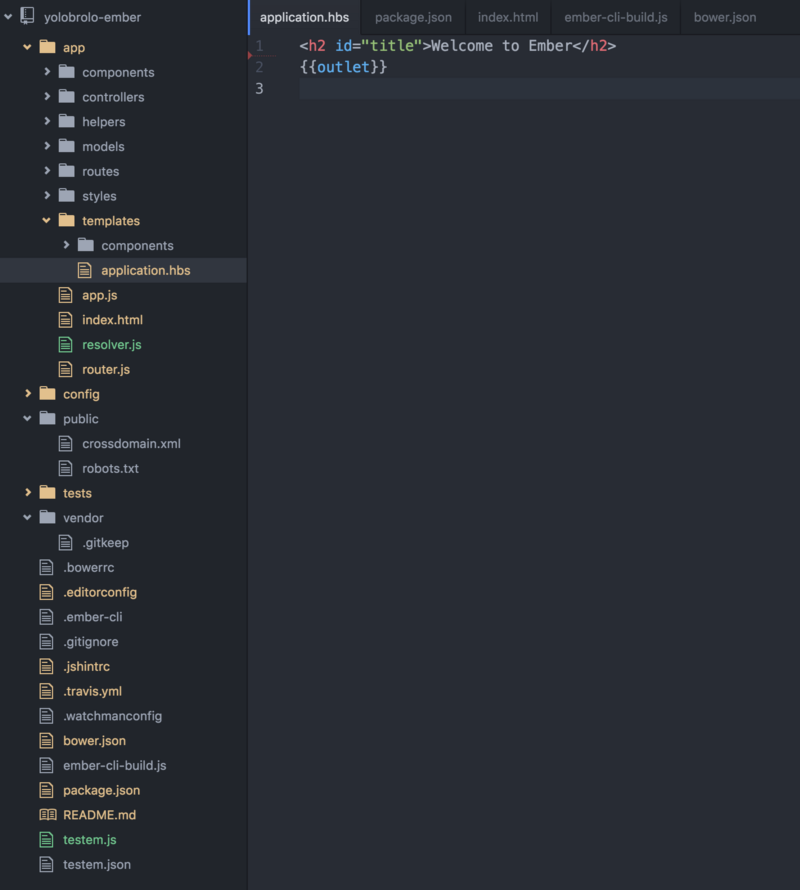
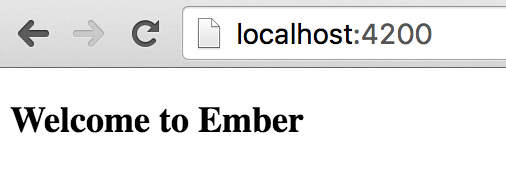
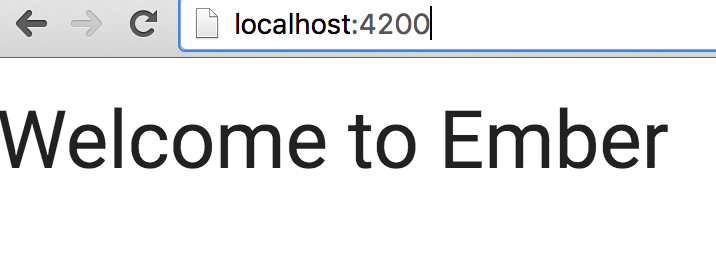
Wahoo! Now, if you open up your IDE, you should see the structure of an Ember application.
Installing Materialize-CSS
In case you were wondering, I love material design and materialize-css.
So, if you want to use the styles I usually use, go ahead run the following command.
npm install materialize-cssThen, add these lines to your index.html file
<!-- Compiled and minified CSS --> <link rel="stylesheet" href="https://cdnjs.cloudflare.com/ajax/libs/materialize/0.97.7/css/materialize.min.css"><!--Import Google Icon Font--> <link href="http://fonts.googleapis.com/icon?family=Material+Icons" rel="stylesheet"><!-- Compiled and minified JavaScript --> <script src="https://cdnjs.cloudflare.com/ajax/libs/materialize/0.97.7/js/materialize.min.js"></script>When done, kill your server and restart it. Your font should change to Roboto:
Creating components
Ember, like most JavaScript frameworks these days, loves components. So let’s create the component we need: a navigation bar that we can hook up the router to! We use the nav bar that materialize-css gives us.
All you need to do to create a component is this:
ember g component <component-name>Make sure the name of your component has a dash in the name as this is the convention.
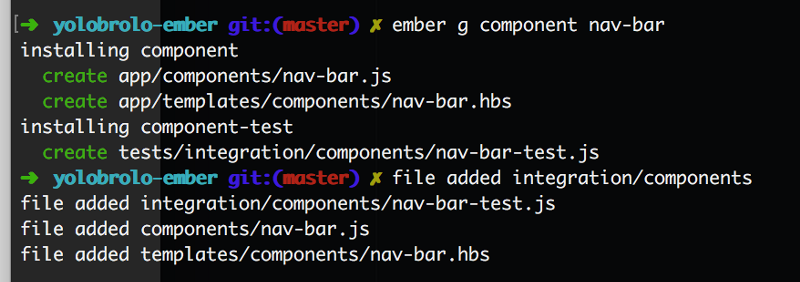
Here are the files that ember-cli generates for me. It creates:
- component-name.hbs
- component-name.js
- adds integration tests
This is what my pretty nav-bar looks like.

Here’s the default code if you like:
<nav> <div class="nav-wrapper"> <a href="#" class="brand-logo center">Logo</a> <ul id="nav-mobile" class="left hide-on-med-and-down"> <li><a href="#">Videos</a></li> <li><a href="#">About</a></li> </ul> </div> </nav>Anytime you need to reuse a piece of code over and over again, it’s always best to make it a component. :)
Using Ember’s router
I think I take Ember’s router for granted after playing around in Angular 2 so much.
Actually, I think I take routers for granted in general, but here is my friend Jay Phelps telling us why we should care.

Here’s a basic overview of how Ember’s router works.
First things first, you should note there is a router.js file in which all of your routes are defined. Also, in your application.hbs file, there is {{outlet}} which outputs whatever you specify the router to.
In my app, I want to create 2 simple routes — an about page and a videos page.
To create a new route you run this command in ember-cli.
ember g route <route-name>Ember will then generate:
- your-route.js
- your-route.hbs
- update the router.js file
- create a unit test.
You can see all the magic from the command line:
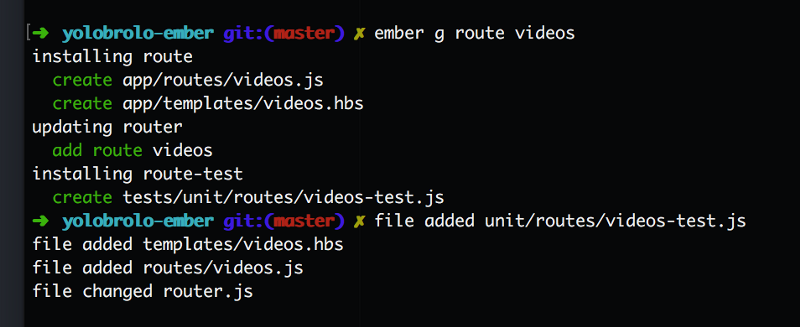
I love how the router.js file is automatically updated for me. You can even create nested routes from the command line. The Ember.js guides are pretty awesome and here is a link to everything the router can do.
One thing I did in the screenshot below was define my default route. I did that by simply specifying the route path as /. Everything else was pre-generated for me with the CLI.
this.route(‘videos’, { path:’/’ });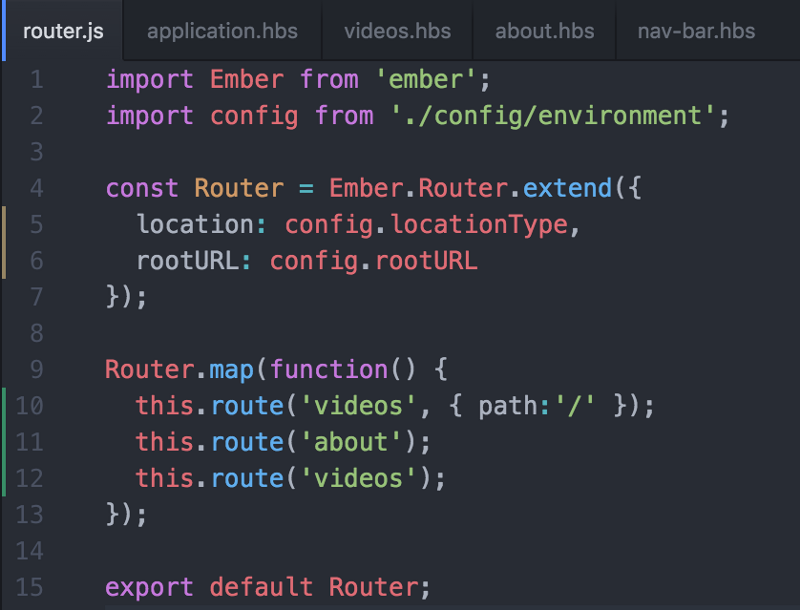
Configuring the output of Ember’s router
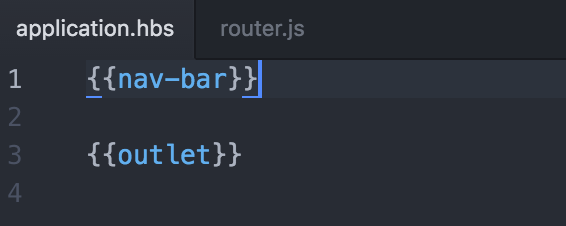
Let’s explore the application.hbs file. This is where the router will output.
Really, one of the only things I add into my application.hbs file is a navigation bar and footer. I create routes for everything else.
Currently my application.hbs file looks like this.
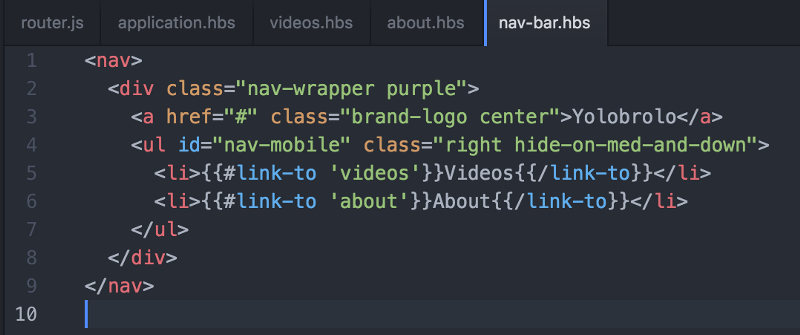
Now, going into my nav-bar component I’m going to get routes going for the about page route and the videos route.
Ember uses the {{link-to}} helper for transitions between routes.
Here’s what the syntax looks like:
{{#link-to ‘videos’}}Videos{{/link-to}}The {{link-to}} helper replaces an <a> tag and is the way we transition between routes in Ember. All you need to do is specify the route in the parens as shown above. In Angular 2, the equivalent is the routerLink.
Here’s a screenshot of my entire nav-bar.
Now you know how to use the very basic functionality of the router!
Iterating Over Data Using the Each Helper
I have a video route, and I’d like to display a set of YouTube videos on the page. I’m going to create a simple video-card component that I will be iterating over and displaying on the video page.
This is what one video card looks like:

Part of Ember’s beauty is all the helpers that allow you to do cool things in your app.
Ember’s {{each}} helper is equivalent to the ng-repeat directive in Angular 1 and the *ngFor directive in Angular 2.
Full ember docs on the each helper and helpers in general are here.
Here is what the code for one YouTube video displayed looks like:
<div class=”row”> <div class=”col s12 m6 l4"> <div class=”card-panel center-align”> <div class=”purple-text”> <p>Title</p> </div> <div class=”video-container”> <iframe width=”853" height=”480" src=”https://www.youtube.com/embed/peNV2yJRMLo?rel=0" frameborder=”0" allowfullscreen></iframe> </div> <div class=”purple-text”> With Taras Mankovski </div> </div> </div></div>After laying it out, I realize that I want to iterate over 3 pieces of data — the title, the YouTube video link, and the person featured in the video.
So, I need to define my data in an array in my component.js file like such:
model: [{ title: “Ember DND Helper”, people: “Taras Mankovski”, videoLink: “peNV2yJRMLo?rel=0” },{ title: “Dependency Injection in Angular 2”, people: “Patrick J. Stapleton”, videoLink: “46WovCX8i-I?rel=0” },{ title: “Angular CLI”, people: “Mike Brocchi”, videoLink: “BmZLpNRNnZo” },{ title: “Angular Material 2 Spelunking & Issue Submission”, people: “Ben Lesh”, videoLink: “3gNsyL7wpXU” }]});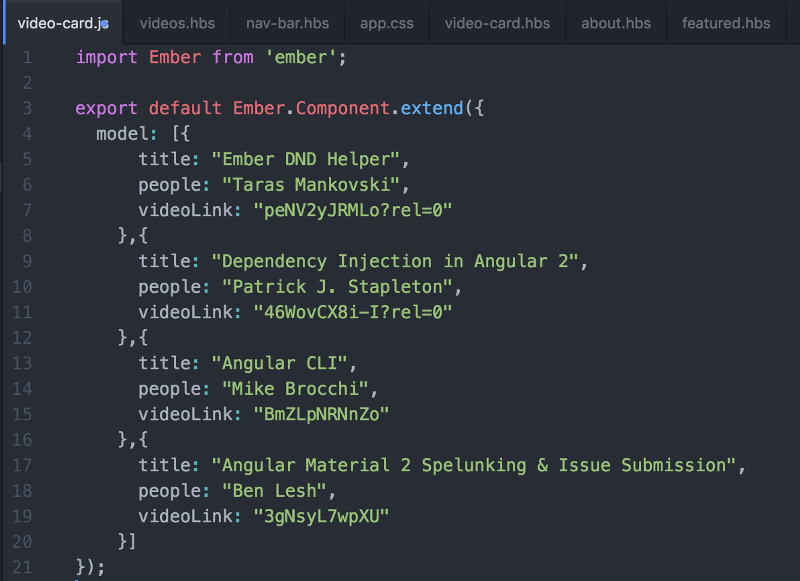
Then, I can finally use the {{each}} helper to iterate over my data.
Wrap the content with the {{each}} helper as below, defining the model and your local variable:
{{#each model as |video|}} CONTENT {{/each}}Then, take the pieces of content you’d like to be dynamic and replace it with handlebars and localVariable.x, like so:
{{video.title}}src="https://www.youtube.com/embed/{{video.videoLink}}"{{video.people}}Here’s what the code looks like when it’s all said and done:
<div class=”row”> {{#each model as |video|}} <div class=”col s12 m6 l4"> <div class=”card-panel center-align”> <div class=”purple-text”> <p>{{video.title}}</p> </div> <div class=”video-container”> <iframe width=”853" height=”480" src=”https://www.youtube.com/embed/{{video.videoLink}}" frameborder=”0" allowfullscreen></iframe> </div> <div class=”purple-text”> With {{video.people}} </div> </div> </div> {{/each}}</div>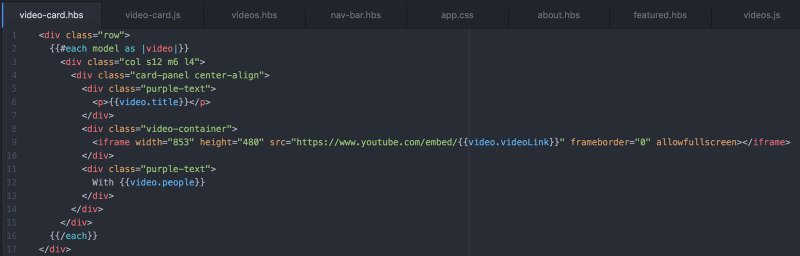
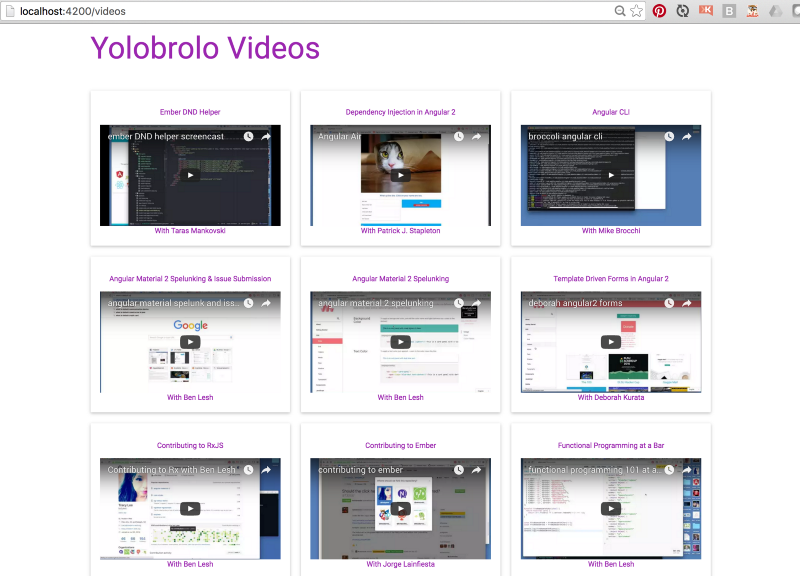
Here’s the end result of using the {{each}} helper.
Deploying to Heroku
Once upon a time there existed a man called tonycoco. And tonycoco made deploying ember apps to Heroku super easy. Here’s his github repo if you want to peep in on this.
First, you should have the Heroku Toolbelt installed and linked with your Heroku account.
Then, all you have to do to deploy to Heroku is commit your changes to master and push.
$ heroku create — buildpack https://github.com/tonycoco/heroku-buildpack-ember-cli.git$ git push heroku masterWait for it to finish deploying completely.
Go into your Heroku app dashboard. Update app to the name you want (to match your app).
Now change the Heroku remote name to match new app name in your .git/config file.
Then, git push heroku master again and you should be all set!
In this case, this app deployed: http://yolobrolo-ember-1.herokuapp.com/
Yolo! Have fun with it. Hope you try out Ember and enjoy it.
Watch me build this step by step
Oh also, for your viewing purposes, you can watch me build this on YouTube at yolobrolo.