by Wesley McCann
Setting up OBS for Live Coding in 7 Steps
Twitch TV is a popular live-streaming service. You traditionally used Twitch to stream yourself playing video games, but recently Twitch has started encouraging people to stream themselves coding.
While typical video game live streaming configurations will work for live coding, they are overkill. When streaming live coding, you can get away with significantly lower settings, making it much easier for people with a slower connection to watch your live stream.
This article will show you how to configure the popular OBS (Open Broadcast Software) to keep your stream’s quality high while minimizing the bandwidth requirements for your viewers.
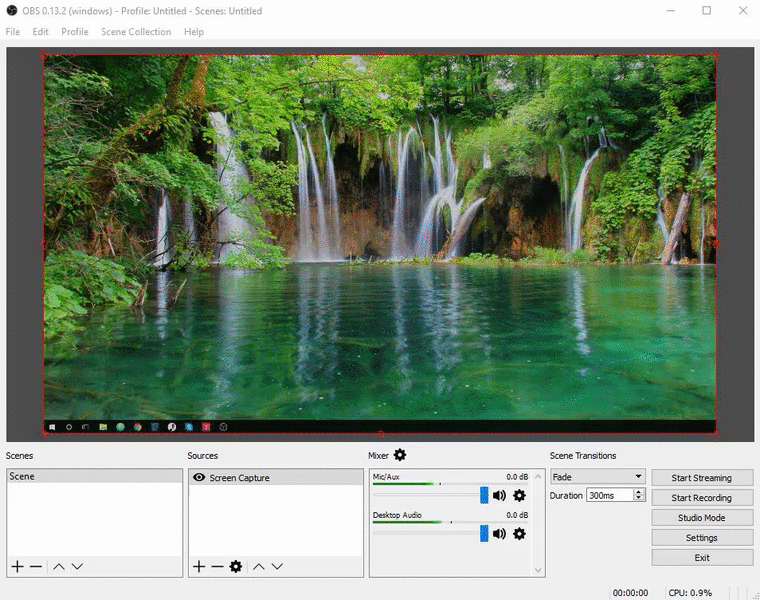
Note: In order to keep this article reasonably short, we will only show screen shots from the Windows version of OBS. Note that most of should be pretty much the same on Mac and Linux.
First Steps
- You will need to download and install OBS for your platform. The OBS website is located here. I prefer OBS studio (which is the only option for non-windows users), as it is the newest version currently being developed, and appears to use bandwidth better.
- Once installed you will want to start by setting up the scene. First you will want to make sure there is a scene inside of the left most box. This should be there by default, however if it is not just right click inside the box and select “Add -> Scene”.
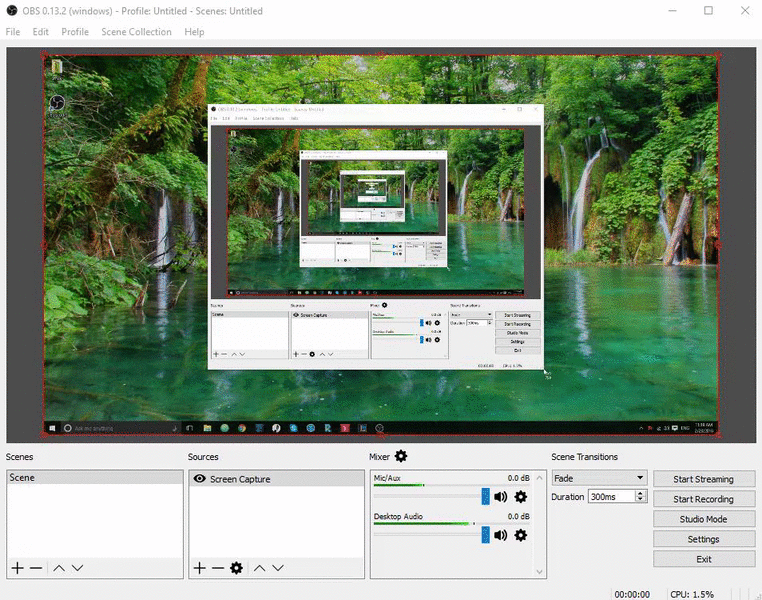
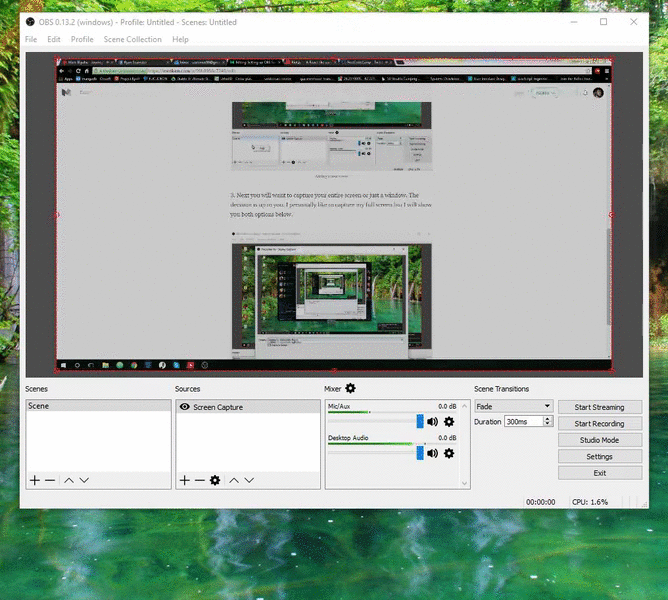
3. Next you will want to capture your entire screen or just a window. The decision is up to you. I personally like to capture my full screen but I will show you both options below.
4. Once you have this set up you will want to get your microphone working so you can communicate with your audience. On windows you will want to click on the settings button > audio tab. Once here you will want to find “Mic/Auxiliary Audio Device” and use the drop down to select your input device.

5. Now that you have the scene set up to capture your display and your microphone you need to set up a streaming service. To do this, open your settings > Stream tab. Once there, select:
Stream Type: Streaming Services
Service: Twitch
Server: Choose the server closest to you
Stream key: The stream key provided by Twitch

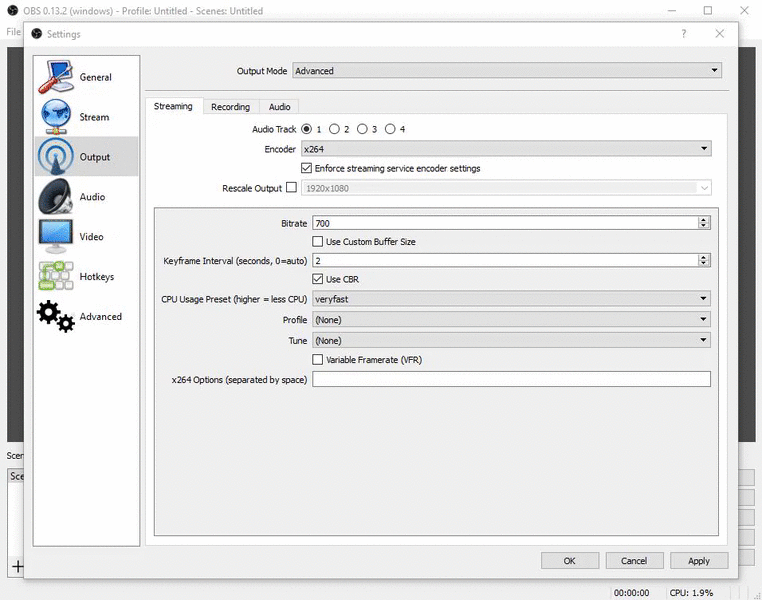
6. Next you will want to change output settings. You can do this by going to settings > output. From here you will want to select:
Output Mode: Advanced
Be on the “Streaming Tab”
Bitrate: No higher than 1200. Try to match your upload speed. For example my upload speed is usually between 800Kbps-900Kbps. I have set my bitrate to 700.
Keyframe Interval: 2 seconds
User CBR: Check
CPU Usage: Veryfast. This is the recommended value if you are unsure of your hardware.
All other settings leave set to default.
7. Finally, you will want to check your frames per second (FPS) of your stream. Not properly configuring your FPS is probably the biggest way to waste of bandwidth when live coding. Navigate to settings > video. Once there you will want to click the dropdown “Common FPS Values” and select “Integer FPS Values”. In the input box that shows up change the 30 to 15. 15 FPS should be fine for live coding.
That should be all you need to do to set up OBS to begin live coding!
There are a few more things that you may want to do such as capture output audio to play music on stream. I will write another article about this very soon with Windows- and Mac-specific GIFs.
If you have any questions, feel free to message me on Gitter or tweet at me at @septimus98.