
by Luke Konior
SpriteKit Advanced — How to build a 2,5D game (Part II)

Intro
This article shows how to write basic shaders in the SpriteKit. It’s split into two parts: first we play, then we learn.
It also contains information how to use SKAttribute and SKAttributeValue classes that were added in iOS SDK 10.0.
If you haven’t already read it, here’s part 1 of this article series.
Prepare the project
Let’s get quick and dirty.
- Open XCode 8 and create a new project from template: iOS > Game.
- Open the
GameScene.sksand remove the label in the center of the screen. - Download this and put it inside
Assets.xcassets
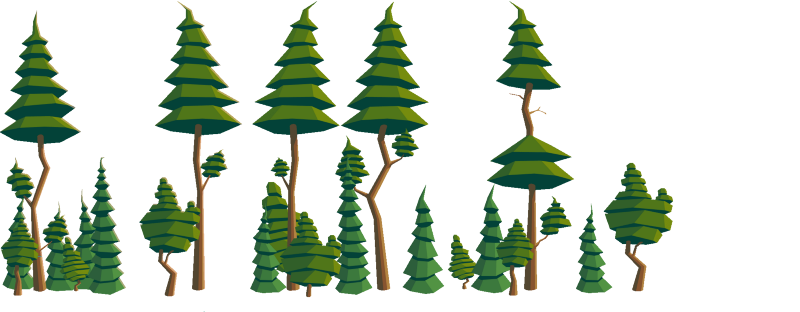
- Name it “Trees”
- Open the
GameScene.m - remove all instance variables
- remove all methods
The Fragment Shader
Now we create an empty fragment shader In XCode:
- In the Project Navigator select Supporting Files
- Choose: File > New > File…
- Select: Other > Empty
- Name it “
myShader.fsh” and press Create. - Put this inside:
// currently a boring pass-thru shader void main( void ) { vec4 color = texture2D(utexture, vtexcoord); // here will emerge something worthy glFragColor = color;}Above fragment shader does nothing perceptible. Quick explanation:
void main()
this function gets called for each pixel of the sprite and outputs color for that pixel
Gets input data from surrounding globals and must set thegl_FragColorvariablevec2,vec3andvec4are the types similar to C's:float array[2],float array[3]andfloat array[4]- u_texture is a texture ID
Leave it alone :-) v_tex_coordis avec2which contains our current position in texturetexture2D(tex , p)is a function that returns color from texturetexinpoint pasvec4
which contains rgbagl_FragColoris an output color
We must assign it avec4
Loading code
What’s left is the loading code.
- Open the
GameScene.m - add method
-didMoveToView:
- (void)didMoveToView:(SKView *)view { // 1. load the shader's source from myShaderFile.fsh NSString *file = [[NSBundle mainBundle] pathForResource:@"myShader" ofType:@"fsh"]; NSString *sourceString = [NSString stringWithContentsOfFile:file encoding:NSUTF8StringEncoding error:nil]; // 2. create the shader SKShader *shader = [SKShader shaderWithSource:sourceString]; // 3. assign the shader to a newly created sprite node SKSpriteNode *spriteNode = [SKSpriteNode spriteNodeWithImageNamed:@"Trees"]; spriteNode.shader = shader; // 4. finally add the sprite to the scene [self addChild:spriteNode];}Ensure that myShader.fsh figures in ProjectFile > Target > Build Phases > Copy Bundle Resources!
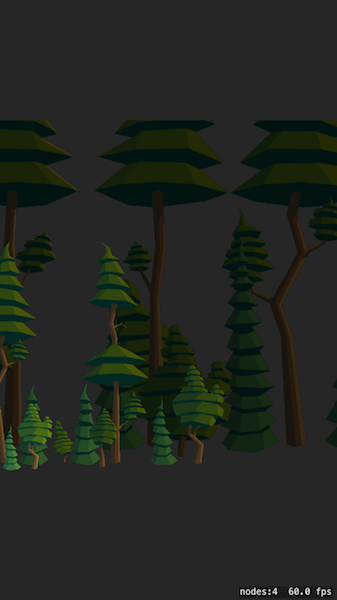
You may now run the project on the iOS device. There shall be no errors in the XCode’s console and you should see a screen similar to this below:
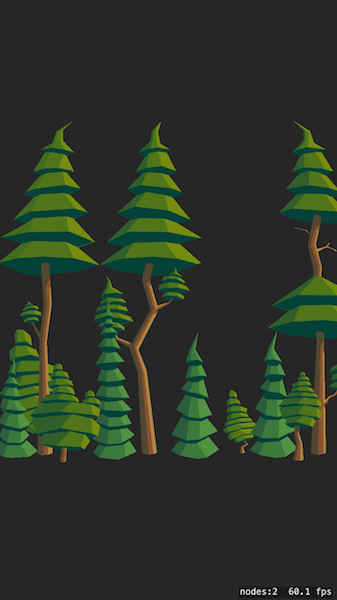
Let’s play a bit!
Now is the fun part. We’ll replace the shader’s main function.
Color with red with alpha preservation
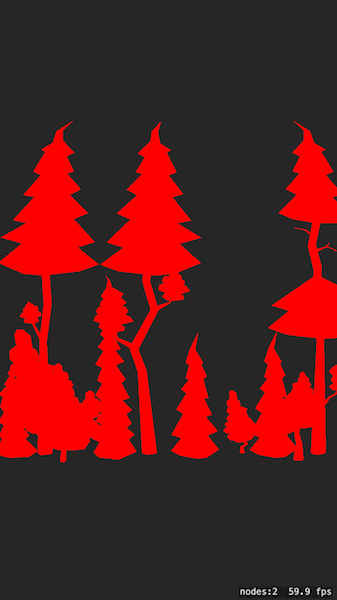
void main( void ){ vec4 color = texture2D(u_texture, v_tex_coord); float alpha = color.a; gl_FragColor = vec4(1,0,0, 1.0) * alpha; //google "premultiplied alpha"}Scale down by 2x
void main( void ){ vec4 color = texture2D(u_texture, v_tex_coord * 2.0); gl_FragColor = color;}Swap colors after 1 second

void main( void ){ vec4 color = texture2D(u_texture, v_tex_coord); float alpha = color.a; float phase = mod(u_time, 3); vec3 outputColor = color.rgb; if (phase < 1.0) { outputColor = color.bgr; } else if (phase < 2.0) { outputColor = color.brg; } gl_FragColor = vec4(outputColor, 1.0) * alpha;}Colorize over time
void main( void ){ vec4 color = texture2D(u_texture, v_tex_coord); float alpha = color.a; float r = (sin(u_time+ 3.14 * 0.00)+1.0)*0.5; float g = (sin(u_time+ 3.14 * 0.33)+1.0)*0.5; float b = (sin(u_time+ 3.14 * 0.66)+1.0)*0.5; gl_FragColor = vec4(r,g,b, 1.0) * alpha;}Waves
void main( void ){ float deltaX = sin(v_tex_coord.y*3.14*10 + u_time * 4)*0.01; vec2 coord = v_tex_coord; coord.x = coord.x + deltaX; vec4 color = texture2D(u_texture, coord); gl_FragColor = color;}New Attributes
At WWDC 2016 Apple introduced an important update to SpriteKit — the SKAttribute and SKAttributeValue classes.
Before this SDK update, if we wanted to pass custom parameters into the shader program, we had to pass the data through a uniform value.
This had two serious drawbacks:
- every uniform change caused shader recompilation
- shader program handled every sprite in the exact same way
For example: if we wanted to dye a group of sprites red, and one of them blue, we had two ways. First we create two separate SKShader instances and change our custom myColor uniform.
Second we make one shader instance and change its uniform which causes a recompilation.
Both ways cannot be drawn on same pass. And the second one requires complex management code.
SDK 10.0 introduced the SKAttribute and SKAttributeValue classes. These two allow (finally!) passing data to the shader programs without recompilation. The usage algorithm is simple:
- The shader part:
- Create a shader program
SKShader - Create an array of
SKAttributes - Assign array of attributes to the shader program
- The
spritepart:
- Assign the shader program to a sprite
- Assign a dictionary of
SKAttributeValues
Example with attributes
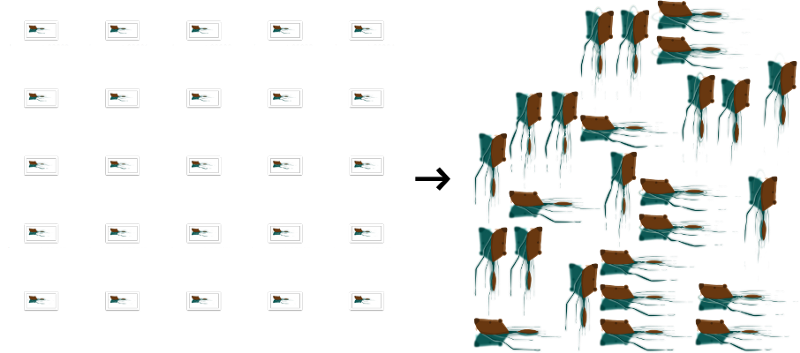
In the last example, we’ll add two more sprites. Every one of them will have the same shader program and will differ only in attributes. Let’s modify the -didMoveToView: inGameScene.m:
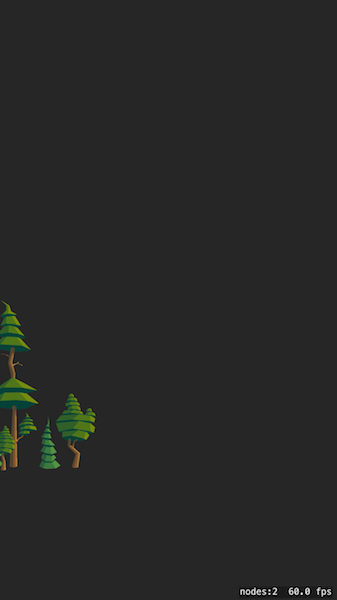
- (void)didMoveToView:(SKView *)view { NSString *file = [[NSBundle mainBundle] pathForResource:@"myShader" ofType:@"fsh"]; NSString *sourceString = [NSString stringWithContentsOfFile:file encoding:NSUTF8StringEncoding error:nil]; SKShader *shader = [SKShader shaderWithSource:sourceString]; // 1. Add a custom attribute to shader SKAttribute *attrProgress = [SKAttribute attributeWithName:@"THE_MIGHTY_DARK_FACTOR" type:SKAttributeTypeFloat]; shader.attributes = @[attrProgress]; // 2. Create tree sprites NSArray *trees = @[ [self createTreeWithShader:shader mightyFactor:0.3f zPosition:1], [self createTreeWithShader:shader mightyFactor:0.6f zPosition:2], [self createTreeWithShader:shader mightyFactor:0.9f zPosition:3], ]; for (SKSpriteNode *tree in trees) { [self addChild:tree]; }}- (SKSpriteNode*)createTreeWithShader:(SKShader*)shader mightyFactor:(CGFloat)mightyFactor zPosition:(CGFloat)zPosition { SKSpriteNode *treeNode = [SKSpriteNode spriteNodeWithImageNamed:@"Trees"]; treeNode.shader = shader; // 3. Fill the custom attribute on the sprite treeNode.attributeValues = @{@"THE_MIGHTY_DARK_FACTOR": [SKAttributeValue valueWithFloat:mightyFactor]}; treeNode.zPosition = zPosition;return treeNode;}… and the shader program:
void main( void ){ vec4 color = texture2D(u_texture, v_tex_coord * (2.5 * THE_MIGHTY_DARK_FACTOR)); float alpha = color.a; vec3 baseColor = color.rgb * THE_MIGHTY_DARK_FACTOR; gl_FragColor = vec4(baseColor, 1.0) * alpha;}... and see the parameterized result!
Caveats
- The shader’s source code is typically loaded from a
.fshfile to a plainNSString
This code must compile on the target device during the runtime
no buildtime checks! - Older devices may use different version of OpenGL ES so beware GLSL syntax differences!
In Raft Challenge’s case there was the need to replace__constant(valid in OpenGL ES 3.0) toconstfor OpenGL ES 2.0. - It’s a good idea to keep a reference to SKShader object somewhere and reuse it as frequently as needed to avoid visible frame rate drop
While allocation and shader compilation takes less than 1/60 sec, it may become a huge burden in render loop - When using SpriteKit’s Texture Atlases be cautious of
vtexcoord
XCode may rotate some textures which swapXandYaxis
Color modification is safe, geometry is not
Summary
We learned by examples how to use fragment shaders in the Sprite Kit. We added parameters to sprites so our shader program can render every instance in a different way without any performance loss.
The complete project is available for a download.
You can read part 3 of this series here.
About the author: Kamil Ziętek is an iOS Developer at www.allinmobile.co