
by Siddhant Srivastav
How to get started with Angular-Hasura Boilerplates
This blogpost gives you an idea of how to start with GraphQL with the help of Hasura and Angular. I will give you information about the boilerplate apps on Angular configured to use with Hasura’s deployed GraphQL engine on Heroku.
The idea behind this article is to give you a push into the process of creating the app and an idea about the approach used for it. We won’t be getting into the code a lot, just the part we need to get the app up and running.
Let’s dig in!
Overview
We have 3 genres of boilerplates:
hello-world
This boilerplate is just an Angular application which has the settings for GraphQL and headers already setup. Using this boilerplate, you can directly clone the app and start creating your app!
basic
This boilerplate is build upon the hello-world boilerplate and introduces the basic functionalities of mutation/queries and shows you how you write them and the functions that use them.
advanced
This boilerplate is build on the basic app and is fully fledged with mutations, queries and authentication with Auth0 already setup! This boilerplate is an ideal app for you to get started and create new apps in absolutely no time.
Woah! Stop! Important stuff here…
To use these boilerplates, there are some important settings required. Here they are:
- Create an instance at Heroku. To do that go to https://hasura.io
- Set up the environment variables: Head over to the file
environments/environment.tsand change the values for the endpoint and other required fields. In the advanced application, you’ll need to use the credentials provided by Auth0.
The Boilerplates
The three boilerplates that allow Angular to interact with Hasura’s GraphQL engine can be cloned from the Hasura engine repo. Steps common for all the three boilerplates are:
- Clone the app.
cd <boilerplate-name> and- run
npm installto install all the dependencies.
Hello World
The hello-world boilerplate is nothing but a simple Angular application with the GraphQL module setup and with the apollo client already set up as well.
The directory structure for the applicatio is shown below.
The hello world application has a hello module that imports the graph-ql.module.ts . Forming this directory structure helps us initialise the GraphQL Module once the Hello Module is activated.
But why do we need to do this? The GraphQL Module initialises the headers and creates an Apollo Client. The headers contain authorisation tokens and other information. We want to initialise this Module only when the authorization tokens are set, else we’d need to refresh the application one more time for set the values for tokens in the module. This pattern is followed in all the boilerplates.
The Hello Module is activated from the App Module.
Now let’s get to know the GraphQL Module better. This module is the same throughout the three boilerplates with some minor adjustments for the tokens.
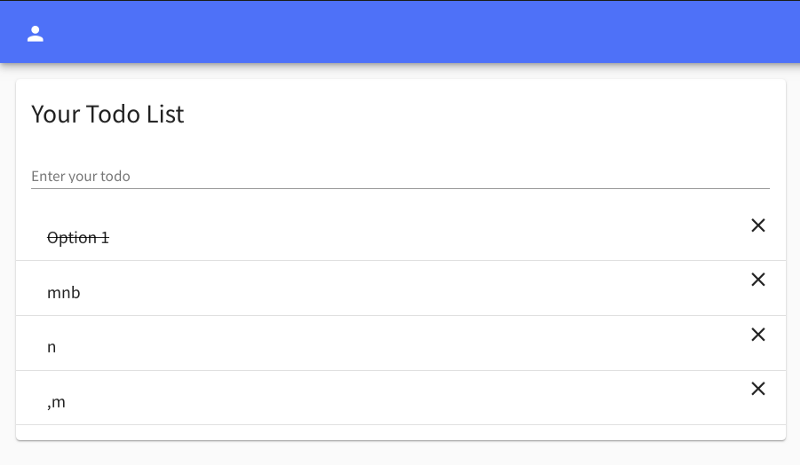
The Basic App
The Basic App boilerplate is built on top of the Hello World boilerplate. The additions to the app are the queries and mutations written to give you examples of how queries and mutations are written.
The queries are written in app/shared/operations.ts . The Shared Module is imported to the Basic Module with contains HTML and functions written to make queries.
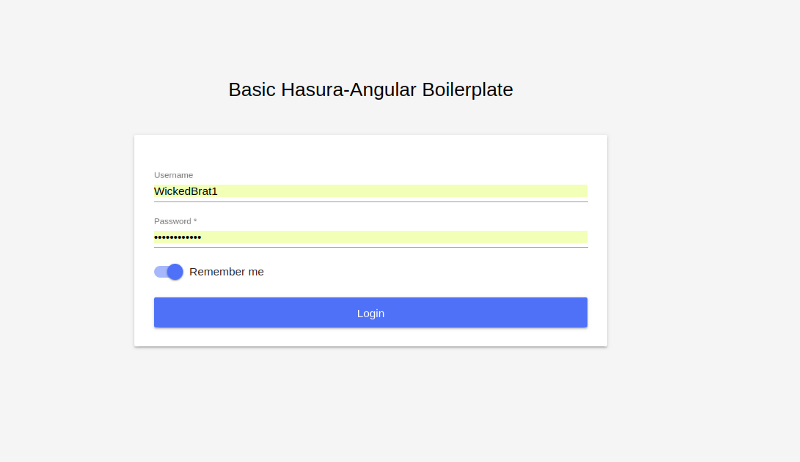
In the basic app, the login is handled by a mock authenticator that sets a hard-coded session and lets you login with any username and password.

The Advanced Boilerplate
This boilerplate is built upon the Basic boilerplate and adds the feature of authentication to the application.
Authenticaion via Auth0
- Head over to https://auth0.com and sign in.
- Once logged in, create a new app and get the credentials for the app.
- Open settings for the app and add a callback url. For development: use the url http://localhost:4200, and for production use the url of your website.
Now head over to the environments/environment.prod.ts and replace the environment variables. You are now ready to use the advanced boilerplate!
Happy Coding!
About Me
My name is Siddhant Srivastav, and I’m an undergrad student at the Indian Institute of Information Technology, Allahabad.
I love creating. I love to code in Python and JS. I love Open source and contributing in projects I find interesting.