by Abhishek Jakhar
How to embed video and audio in your HTML
HTML allows us to create standards-based video and audio players that don’t require the use of any plugins. Adding video and audio to a webpage is almost as easy as adding an image or formatting some text.
There are two different ways to include video elements. We will be discussing both of them below.
Video Element
The <video> element allows us to embed video files into an HTML, very similar to the way images are embedded.
Attributes we can include are:
srcThis attribute stands for the source, which is very similar to the src attribute used in the image element. We will add the link to a video file in the src attribute.typeThis is going to be video/mp4 because .mp4 is the format of the video we are using. We can also use different video formats like .ogg or .webm, then the value of type attribute will change to video/ogg or video/WebM respectively.
Note: some common video formats are WebM, Ogg, MP4.
We now have this video on our page. But there’s a problem. This video isn’t playing automatically and there are also no controls to start the video.
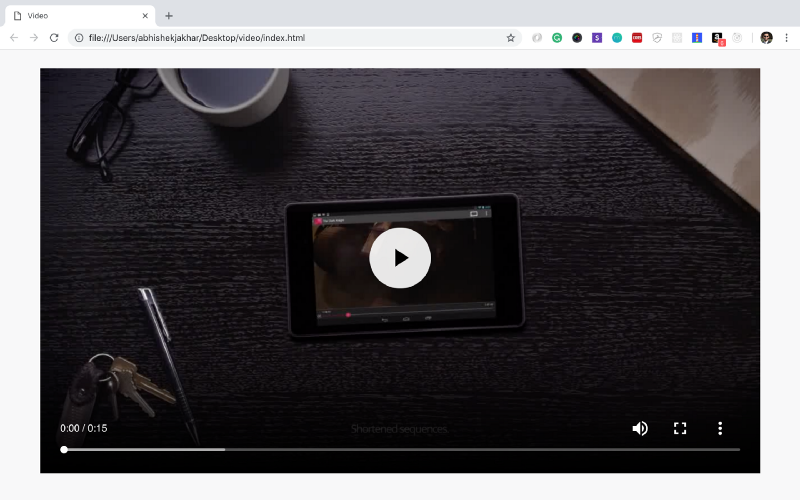
We will have to add controls manually by using the controls attribute to our video element.
This attribute doesn’t take any value, because it’s a boolean attribute. That means it can either be true or false.
Now, by having the controls attribute in our video element, it means that it’s true and it will display playback controls.
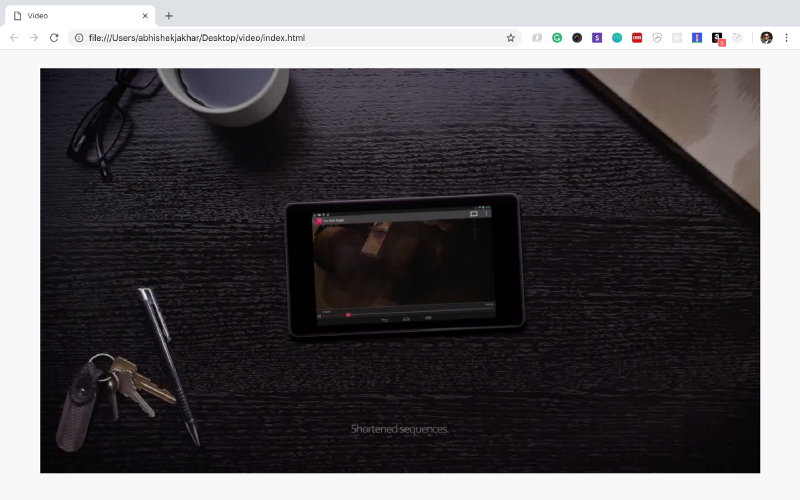
Now, if we remove the controls we could also make the video autoplay, by using the autoplay attribute. This is also a boolean attribute.
Now, as you can see the video is playing by itself, and there’s no control. So, we didn’t actually start the video, but we also can’t stop the video.
We can also have controls and autoplay together.
You can provide different attributes to the video element, depending on the requirement.
I mentioned above that there are two different ways to add the video element. Let’s try the other way.
Source Element
Earlier we used a video element with self-closing tag, but here we will close the video element. So we have an opening and closing tag now.
We will also remove the type and source attributes from the video element and paste it into another element.
<video> <source src="http://commondatastorage.googleapis.com/gtv-videos-bucket/sample/ForBiggerEscapes.mp4" type="video/mp4"></video>We just moved the attributes over to the source element.
Now, why would we want to do that?
Well, in most cases, with the video we will have multiple sources because we need to provide different file types depending on which browser is viewing your video because different browsers support different file types.
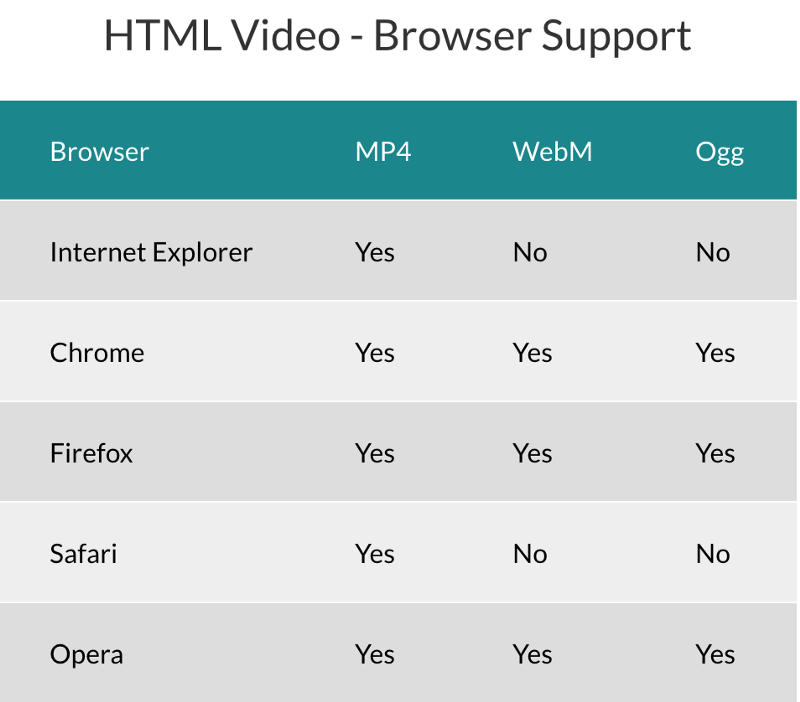
The video will look exactly the same. But now we have broader browser support.
Now, if we want to add attributes like controls, autoplay, loop etc, we will add it to the <video> element.
Audio Element
The <audio> element is very similar to the video element. However, the only major difference is that there are no visuals.
We can use the audio element to play an audio file on our web page — such as an mp3 file.
Now, just like the video tag, there are two different ways to do this.
- Use a single tag representing the entire element.
- Opening and closing tag with the child elements in between.
Now, we’ll have an opening and closing audio tag, and then we will add the source element in between.
The folder structure might look like this:
|-- project |-- audio |-- sample.mp3 |-- sample.ogg |-- css |-- main.css |-- normalize.css index.htmlThere is no controls attribute given to the <audio> element in the example above, so the <audio> element won’t show up in the HTML document.
Now, you can see that there are only a few key differences here. The value in type attribute is changed from “video/mp4” to “audio/mp3”. In the src attribute, we’ve changed from a video file with .mp4 extension to an audio file with .mp3 extension.
Now, just like the video element, we won’t actually be able to stop or start the audio without any controls. So, we will be adding the controls attribute to the audio element.
You can also add other attributes in the <audio> element like autoplay, loop etc.
We have covered the essentials of audio and video elements in HTML.
You can learn more about audio and video in the links given below:
I hope you’ve found this post informative and helpful. I would love to hear your feedback!
Thank you for reading!